Chrome is an excellent browser for daily browsing, but I’ve always been bothered by its unlimited cache growth. From personal experience, letting Chrome store endless temporary files eventually slows down my system and wastes my SSD storage space unnecessarily.
Why You Should Limit Chrome’s Cache Size
Chrome’s cache can quickly spiral out of control. I use multiple Chrome profiles, and some have stored cache data exceeding 3GB—that’s a significant chunk of my SSD space being consumed by temporary files I’ll likely never need again.
Chrome calculates cache size based on your available disk space, which sounds smart in theory but can create problems in practice. On my 1TB drive, Chrome assumes it can use several gigabytes without asking—but I’d rather get more performance from an NVMe SSD and have that space for actual files I need.
The performance impact becomes noticeable on older hard drives. Excessive cache means more disk I/O operations, which can slow down your system when Chrome constantly reads and writes temporary data. Your computer starts feeling sluggish during heavy browsing sessions.
There’s also a privacy angle you should consider. Limiting cached data reduces your digital footprint and makes it easier to clear browsing traces when needed. While cache and cookies serve different purposes, both store information about your browsing habits.

Related
I Can’t Leave Google Chrome, So This Is How I Protect My Privacy
If you’re locked into Google Chrome, there are a few ways you can protect your privacy.
I’ve learned that setting a reasonable cache limit—around 200-500MB—provides the benefits of faster page loading without the storage bloat. Your browsing experience remains smooth while keeping Chrome’s disk space usage in check.
Use Command Line Flags to Set Chrome’s Cache Size
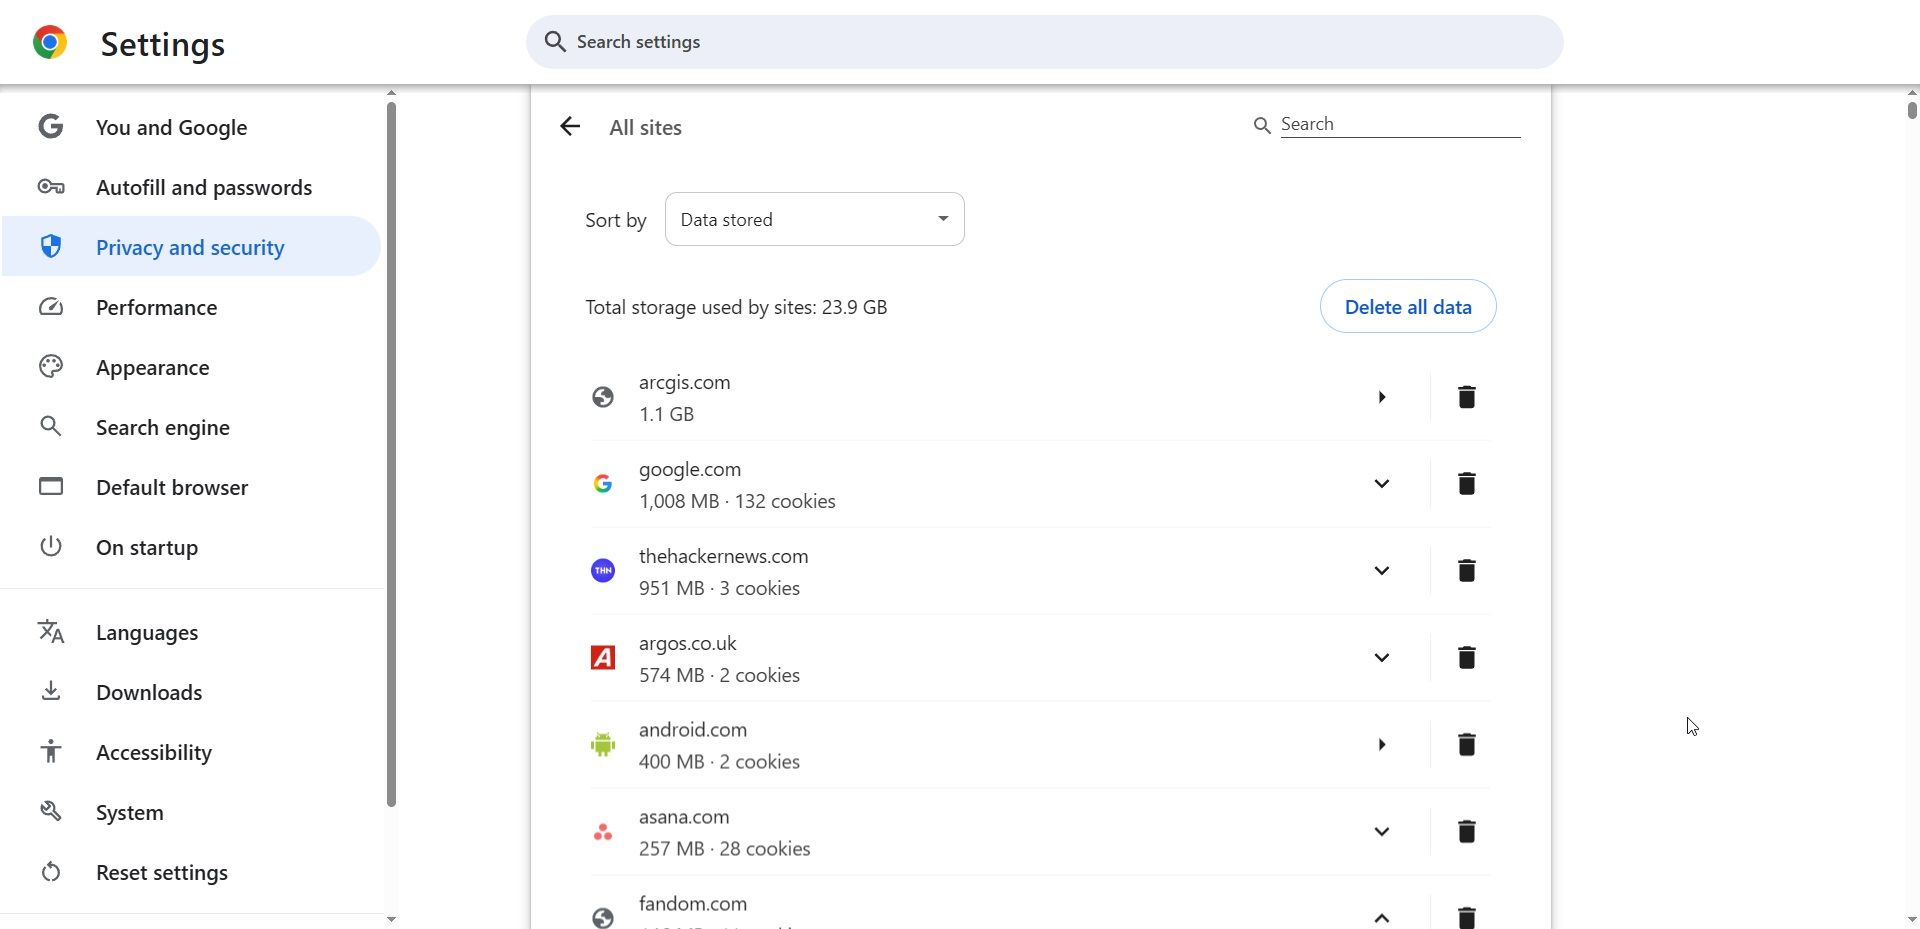
Before limiting Chrome’s cache, it’s good to check how much space it’s currently using. This gives a baseline to work with (and will show which websites are taking up all of your storage space!).
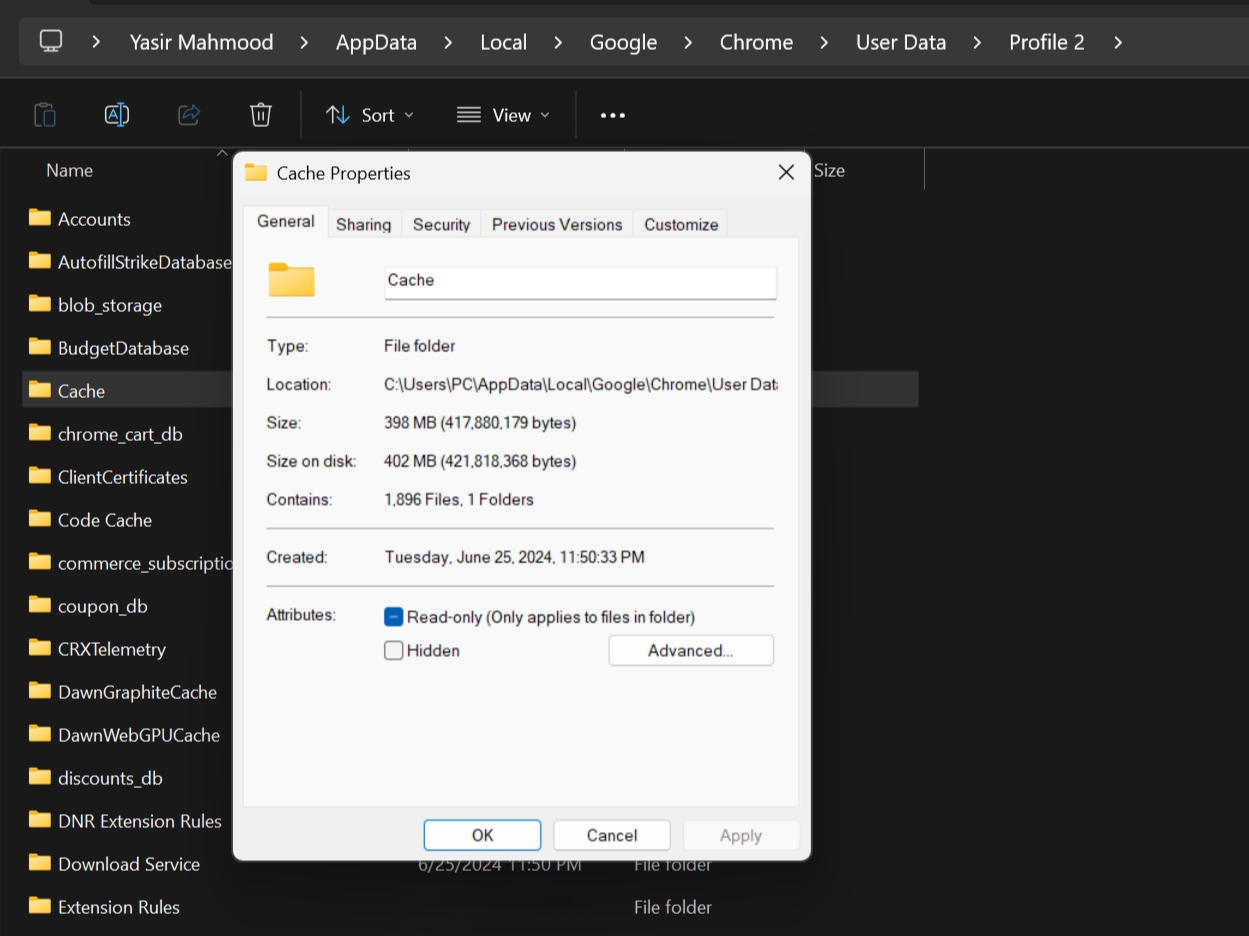
You can find Chrome’s cache size by typing chrome://settings/content/all in the address bar. You can then click on any website and check its usage section. Alternatively, you can navigate to the directory in File Explorer:
C:\Users\PC\AppData\Local\Google\Chrome\User Data
Then, go to your Chrome profile folder, and check the size of the cache folder directly.
The most straightforward method to limit cache size is through command-line flags. This approach doesn’t require registry modifications. Here’s how to set it up:
- Right-click your Chrome desktop shortcut and select Properties.
- Go to the Shortcut tab.
- In the Target field, add –disk-cache-size=209715200 at the end.
- Make sure there’s a space before the double dashes.
- Click Apply and OK.
- Restart Chrome for changes to take effect.
The number 209715200 represents bytes and equals 200MB. You can adjust this based on your needs using a unit converter such as Convert Units—I prefer 400MB (419430400) for heavy browsing sessions.
This is useful if you’re already experiencing excessive RAM usage with Chrome, as limiting the cache can reduce overall resource consumption. The cache limit applies every time you launch Chrome through that specific shortcut.

Related
How I Optimize Google Chrome So It Boots Super Fast
I hate waiting around for Chrome to boot up, so I made some easy changes to save my precious time.
Force Chrome’s Cache Limit Through Windows Registry
If command line flags don’t work for your setup, the Windows Registry offers a more permanent solution. This method applies the cache limit system-wide, regardless of how you launch Chrome.
You’ll need Registry Editor access first—if it’s disabled, check our guide on how to enable Registry Editor access.
Here’s the step-by-step process to force Chrome’s cache limit through the Windows Registry:
- Open the Run dialogue box by pressing Windows + R and typing regedit, then pressing Enter.
- Navigate to Computer\HKEY_LOCAL_MACHINE\SOFTWARE\Google\Chrome.
- If the “Google” or “Chrome” folders don’t exist, create them by right-clicking and selecting New and then Key.
- Right-click in the Chrome folder and select New and DWORD (32-bit) Value.
- Name it DiskCacheSize.
- Double-click the new entry and set the value to your desired cache size in bytes.
- Choose Decimal as the base and enter 209715200 for 200MB.
- Click OK and restart Chrome to apply changes.
I typically set mine to 419430400 (400MB). The registry method overrides any previously set command-line flags, making it the definitive cache limit for your system. It’s also useful for managed environments where you want consistent cache limits across all users.
I prefer this approach because it’s set-and-forget. Once configured, every Chrome instance respects the limit without needing special shortcuts or parameters.
Check if Your Cache Limits Are Actually Working
Setting cache limits means nothing if they’re not working. The simplest verification is checking your cache folder size directly. Navigate to the following path in File Explorer:
C:\Users\PC\AppData\Local\Google\Chrome\User Data
Then, go to your Chrome profile folder and check the Cache folder size. After normal browsing sessions, it should never exceed your set limit—if it does, your configuration isn’t working.
If the limit isn’t working, double-check your command-line syntax or registry entry. A typo in the target field or wrong data type in the registry can break everything. Additionally, some Chrome extensions can interfere with cache limits; try disabling them temporarily if you’re experiencing issues.
Chrome’s default behavior of cache storage never made sense to me. These methods work well, but honestly, Chrome should offer this setting natively. Until Google adds a built-in cache limit option, these workarounds effectively solve the storage problem. Hopefully, future updates will make this process more user-friendly.


:max_bytes(150000):strip_icc()/GettyImages-1513438713-7cbc2ff4b6e2434fade07d34eed50ae8.jpg?w=1174&resize=1174,862&ssl=1)

Leave a Comment
Your email address will not be published. Required fields are marked *