Long exposure photography with just a mobile phone? I was skeptical at first, too. But an inexpensive mobile tripod and some creative edits later, I am officially converted. You don’t need a fancy camera to take impressive photos.
1
Use iPhone’s Live Photos Feature
I’m used to lugging my heavy DSLR or mirrorless camera to take creative shots like long-exposure photos. If you’re familiar with exposure triangle in photography, you know we can adjust the aperture, shutter speed, and ISO in the camera. For long exposure photos, we ideally use a very slow shutter speed.
The problem with mobile photography is that you can’t adjust the shutter speed. The built-in cameras don’t have the option. Some phones may have the night mode option, which gives you some control to adjust the shutter speed, but it is still not enough to achieve the creative effects you’d get from a camera. I’ve always used my professional camera for creative projects like this.

Related
Change These iPhone Settings for Stunning Night Photos
Your iPhone camera can do better—if you set it up right.
However, there is another shortcut to taking long exposures on your iPhone: with live photos. When you take a live photo with your iPhone, it records 1.5 seconds before and after the shot. The photo editor has an option to convert live pictures into long exposures.
While this is simple and quick, I find that there is a drop in sharpness. In my example, all the rocks became blurry, too. Also, we are limited to a three-second exposure. I’d like to have the freedom to play around with different shutter speeds and effects, hence the proper camera.
2
Using the Slow Shutter Cam App
Although I love my camera, it’s just not practical for me to carry it everywhere. Often, I’m on family trips and vacations with my young boys, so I travel with minimal gear. Recently, I found that the Slow Shutter Cam can be an excellent tool for long exposure photos.
Showstopping images without all the luggage? I was in. I got the app immediately for 2.99 USD.
Overall, the app is pretty straightforward to use. You have three options: Long Exposure, Light Trails, and Low Light. You also have the possibility of locking exposure and focus, which can be handy with changing light conditions and moving subjects.
I mostly played around with the long exposure option, tweaking the shutter speed. I was quite impressed with the quality of the images. I also liked the bulb option, where you could leave the shutter open for as long as you wanted.
3
Finding a Creative Subject
Once I sorted out how to control the shutter speed, I had to search for a compelling subject. For long exposure photos, the subject must be moving to get a dreamy look. The most common subjects are water, vehicles, and clouds. I didn’t want to travel far, so I found a small stream nearby.
As a wildlife photographer used to seeing the world through a tight, zoomed-in lens, it was a challenge to compose with the iPhone’s wide-angle lens. Even with the app and all the bells and whistles that come with our gadgets, it takes patience and trained eyes to see and creatively compose a scene.
I edit my photos in Lightroom on my mobile. I’m confident about Lightroom’s editing capabilities, but I aim to get a clean shot. Paying attention to the background and removing or avoiding any distracting elements can save you a ton of time during editing.
I checked different locations to place my camera. That included climbing, crouching, and everything in between. Finding the right composition was the most challenging part of taking this photo. This is no surprise, as composition is truly what makes or breaks an image.
4
Tripod Is a Must
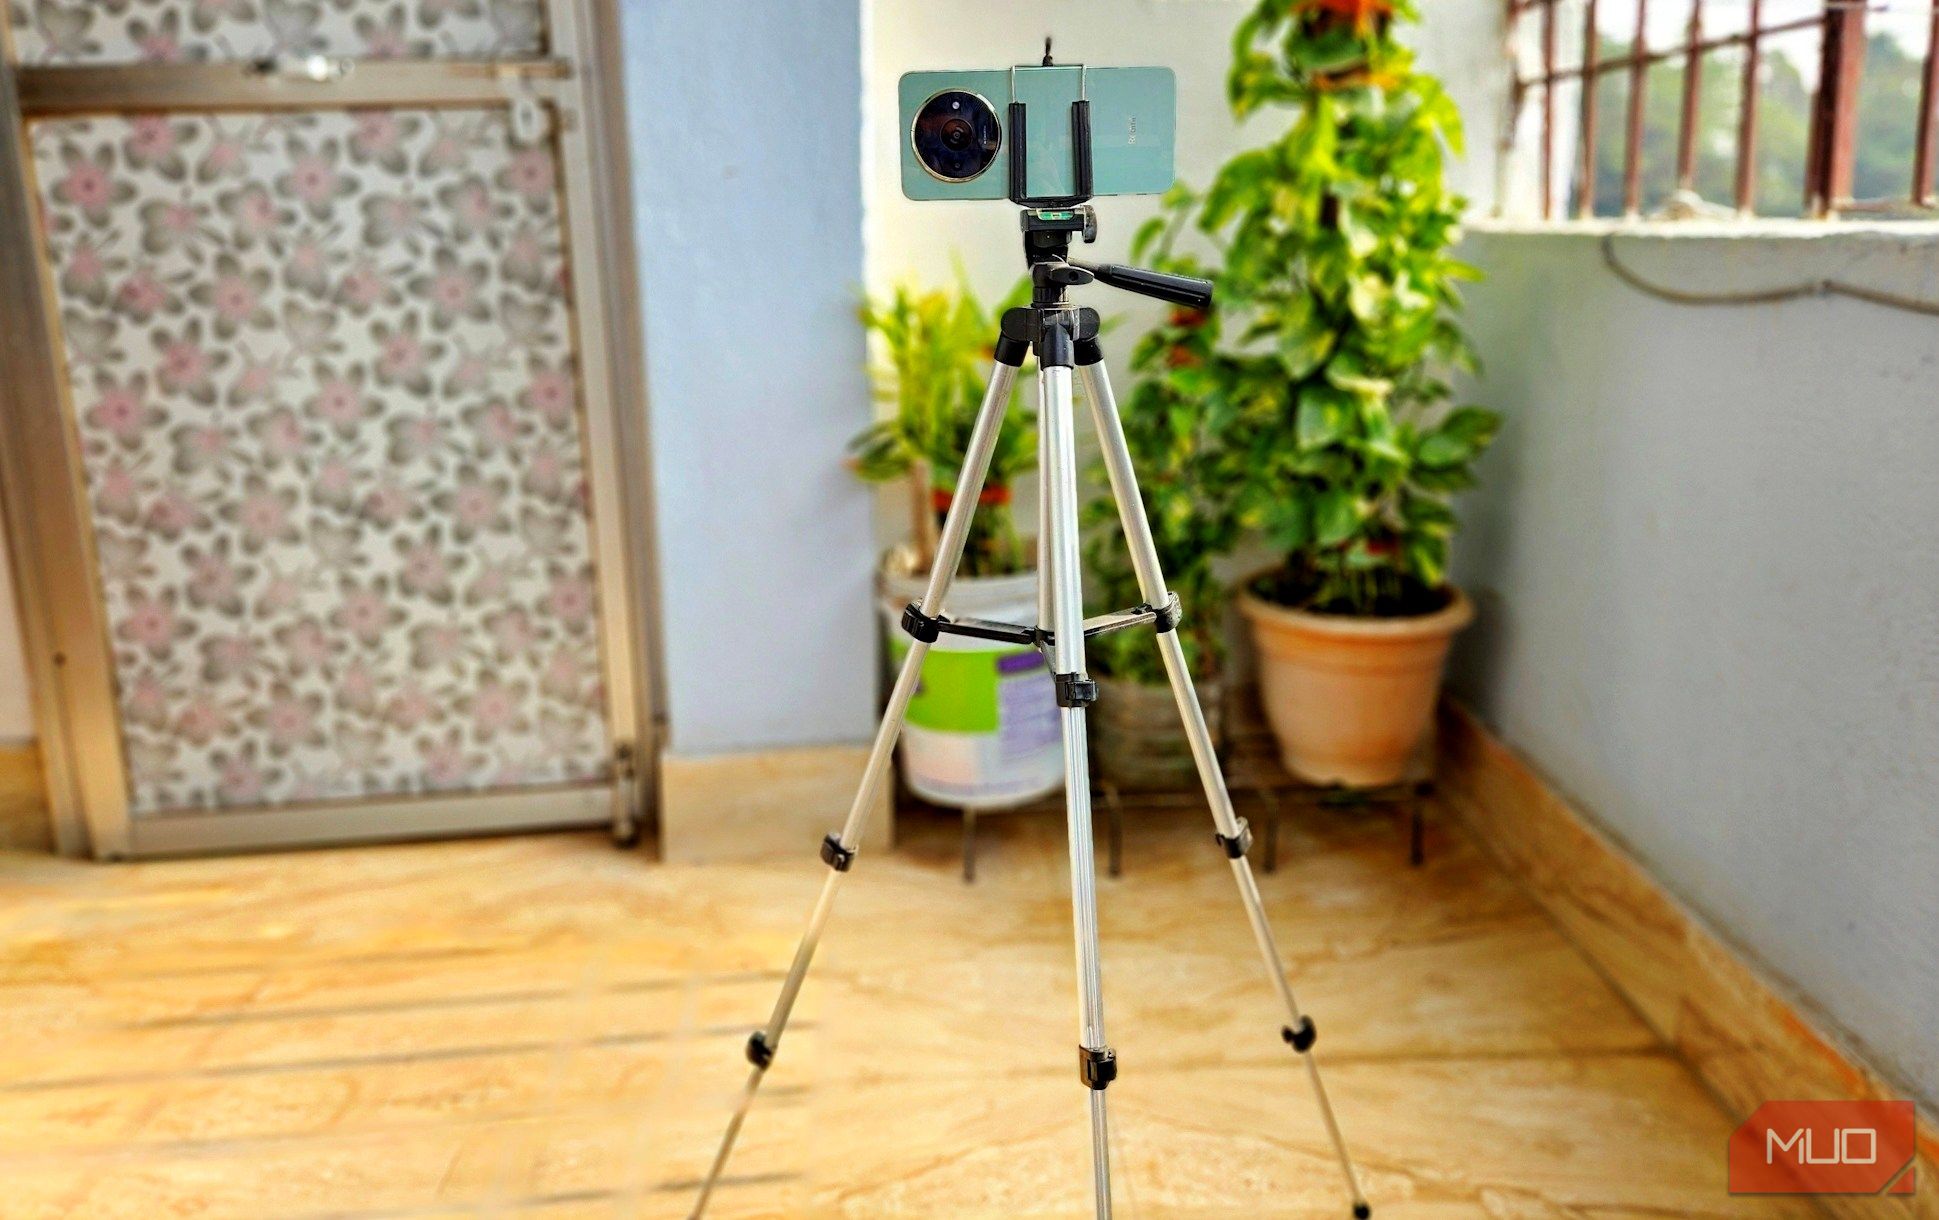
When you shoot with a slow shutter speed, a tripod is crucial to avoid camera shake. Even a slight movement can make your photo blurry if you’re shooting handheld. A proper tripod also gives you more control to adjust angles and perspectives precisely. I used an inexpensive phone tripod that doubles as a selfie stick.
If you don’t have one, don’t worry. You can get creative and use structures like bridges and railings to place your phone. But make sure it is a safe spot, and you don’t accidentally knock your phone over. You can also use things like your backpack or rocks to support your phone. The main thing is to keep your phone supported without holding or touching it.
5
Wireless Shutter Release Helps
Another item that comes in handy for long exposure photography is a wireless shutter release. Again, you need this to leave your phone hands-free. You can also use your headphones or AirPods to control the camera’s shutter. Many online videos explain the steps if you’re unsure how to do it.
Or, you can use a simpler option like what I did. I used the timer option on Slow Shutter Cam to take the photos. The only downside to this method is that you have to wait a few seconds, which was not a big deal for me.
6
Adjusting Shutter Speed for Different Effects
You can adjust the shutter speed and blur strength in the Slow Shutter Cam app. I took my time to experiment with different settings until I got the desired effect.
If you want to expose the image for over 30 seconds, you can try the ‘bulb’ mode to keep the shutter open as long as you keep pressing the shutter. Note that you need a remote shutter release to do this effectively. With the timer option, you have to touch the phone’s shutter, which can introduce blur.
7
Editing Is Key
An excellent iPhone and an efficient app are still not enough to take great pictures. You have to unleash the power of photo editing to take your photos to the next level. My preferred photo editing tool is Lightroom on my mobile. As a photographer, I’ve extensively used Lightroom Classic on my laptop. Now, I’ve adapted my editing to the mobile app.
When it comes to photo editing, I tend to take a minimalistic approach. I do it mindfully to enhance the colors and quality subtly. I am not an HDR person—I am not a fan of super-sharp or highly saturated images.
Even with due diligence and careful composing, I found that my photo needed a bit of work. My main issue was the patches of light streaming through the trees. I went early in the morning as the sun was rising, and some light fell at an unflattering angle. I could’ve gone again later in the evening, but decided to try editing first.
My scene also contained distracting elements. Some rocks were in the wrong place, and branches and twigs were strewn all around. I was shooting from a bridge, so moving or arranging anything was impossible.
I always shoot in HEIC (High Efficiency Image Container) format, which is similar to the RAW format used in cameras. It gives better quality and control while editing than JPEG images. I started off with the usual adjustments, such as exposure, highlights, and shadows. I also boosted the saturation and vibrance.
I used the erase tool in the Lightroom app to remove the rocks and other distracting elements. I also tried the masking option to reduce the brightness of the patches of light.
I wasn’t pleased with the results, so I converted the image into black and white, simplifying the scene. The distracting elements were no longer prominent. Overall, I am happy with the end result.
Shoot Artistic Long Exposure Photos With Your Phone
If you wish to take long exposure photos like this, look at some examples online for inspiration. Research the places you can visit nearby to take pictures of waterfalls and streams. Look for good vantage points to take light trails when you’re out and about.
In my case, I’ve taken multiple long exposure photos with my camera in the same location before. Remember, our aim as photographers is to ‘make’ a picture, not just take snapshots. So, proper planning is essential to enjoying the process and coming home with stunning pictures.


Leave a Comment
Your email address will not be published. Required fields are marked *