Timelapse videos compress time and help you capture its passage. You needed special equipment or apps in the past to do that, but you can now easily do that with your phone. So, here’s what you need so you can capture an epic timelapse video.
4
Prepare Your Phone
Shooting a timelapse video can be quite taxing, so you need to prepare your phone beforehand, especially if you plan to shoot a long video. The first thing you need to ensure is that you have enough space on your device. I shot a four-hour timelapse with my phone at HD settings, and it took up 1.71 GB. If you want to shoot at a higher quality, like 4K, you’ll definitely need more storage.
If you don’t have enough space on your phone, you need to delete some files or back them up online. Alternatively, you can use a high-speed USB-C memory stick to get more storage on your Android phone, but you have to check if you can record directly to it.
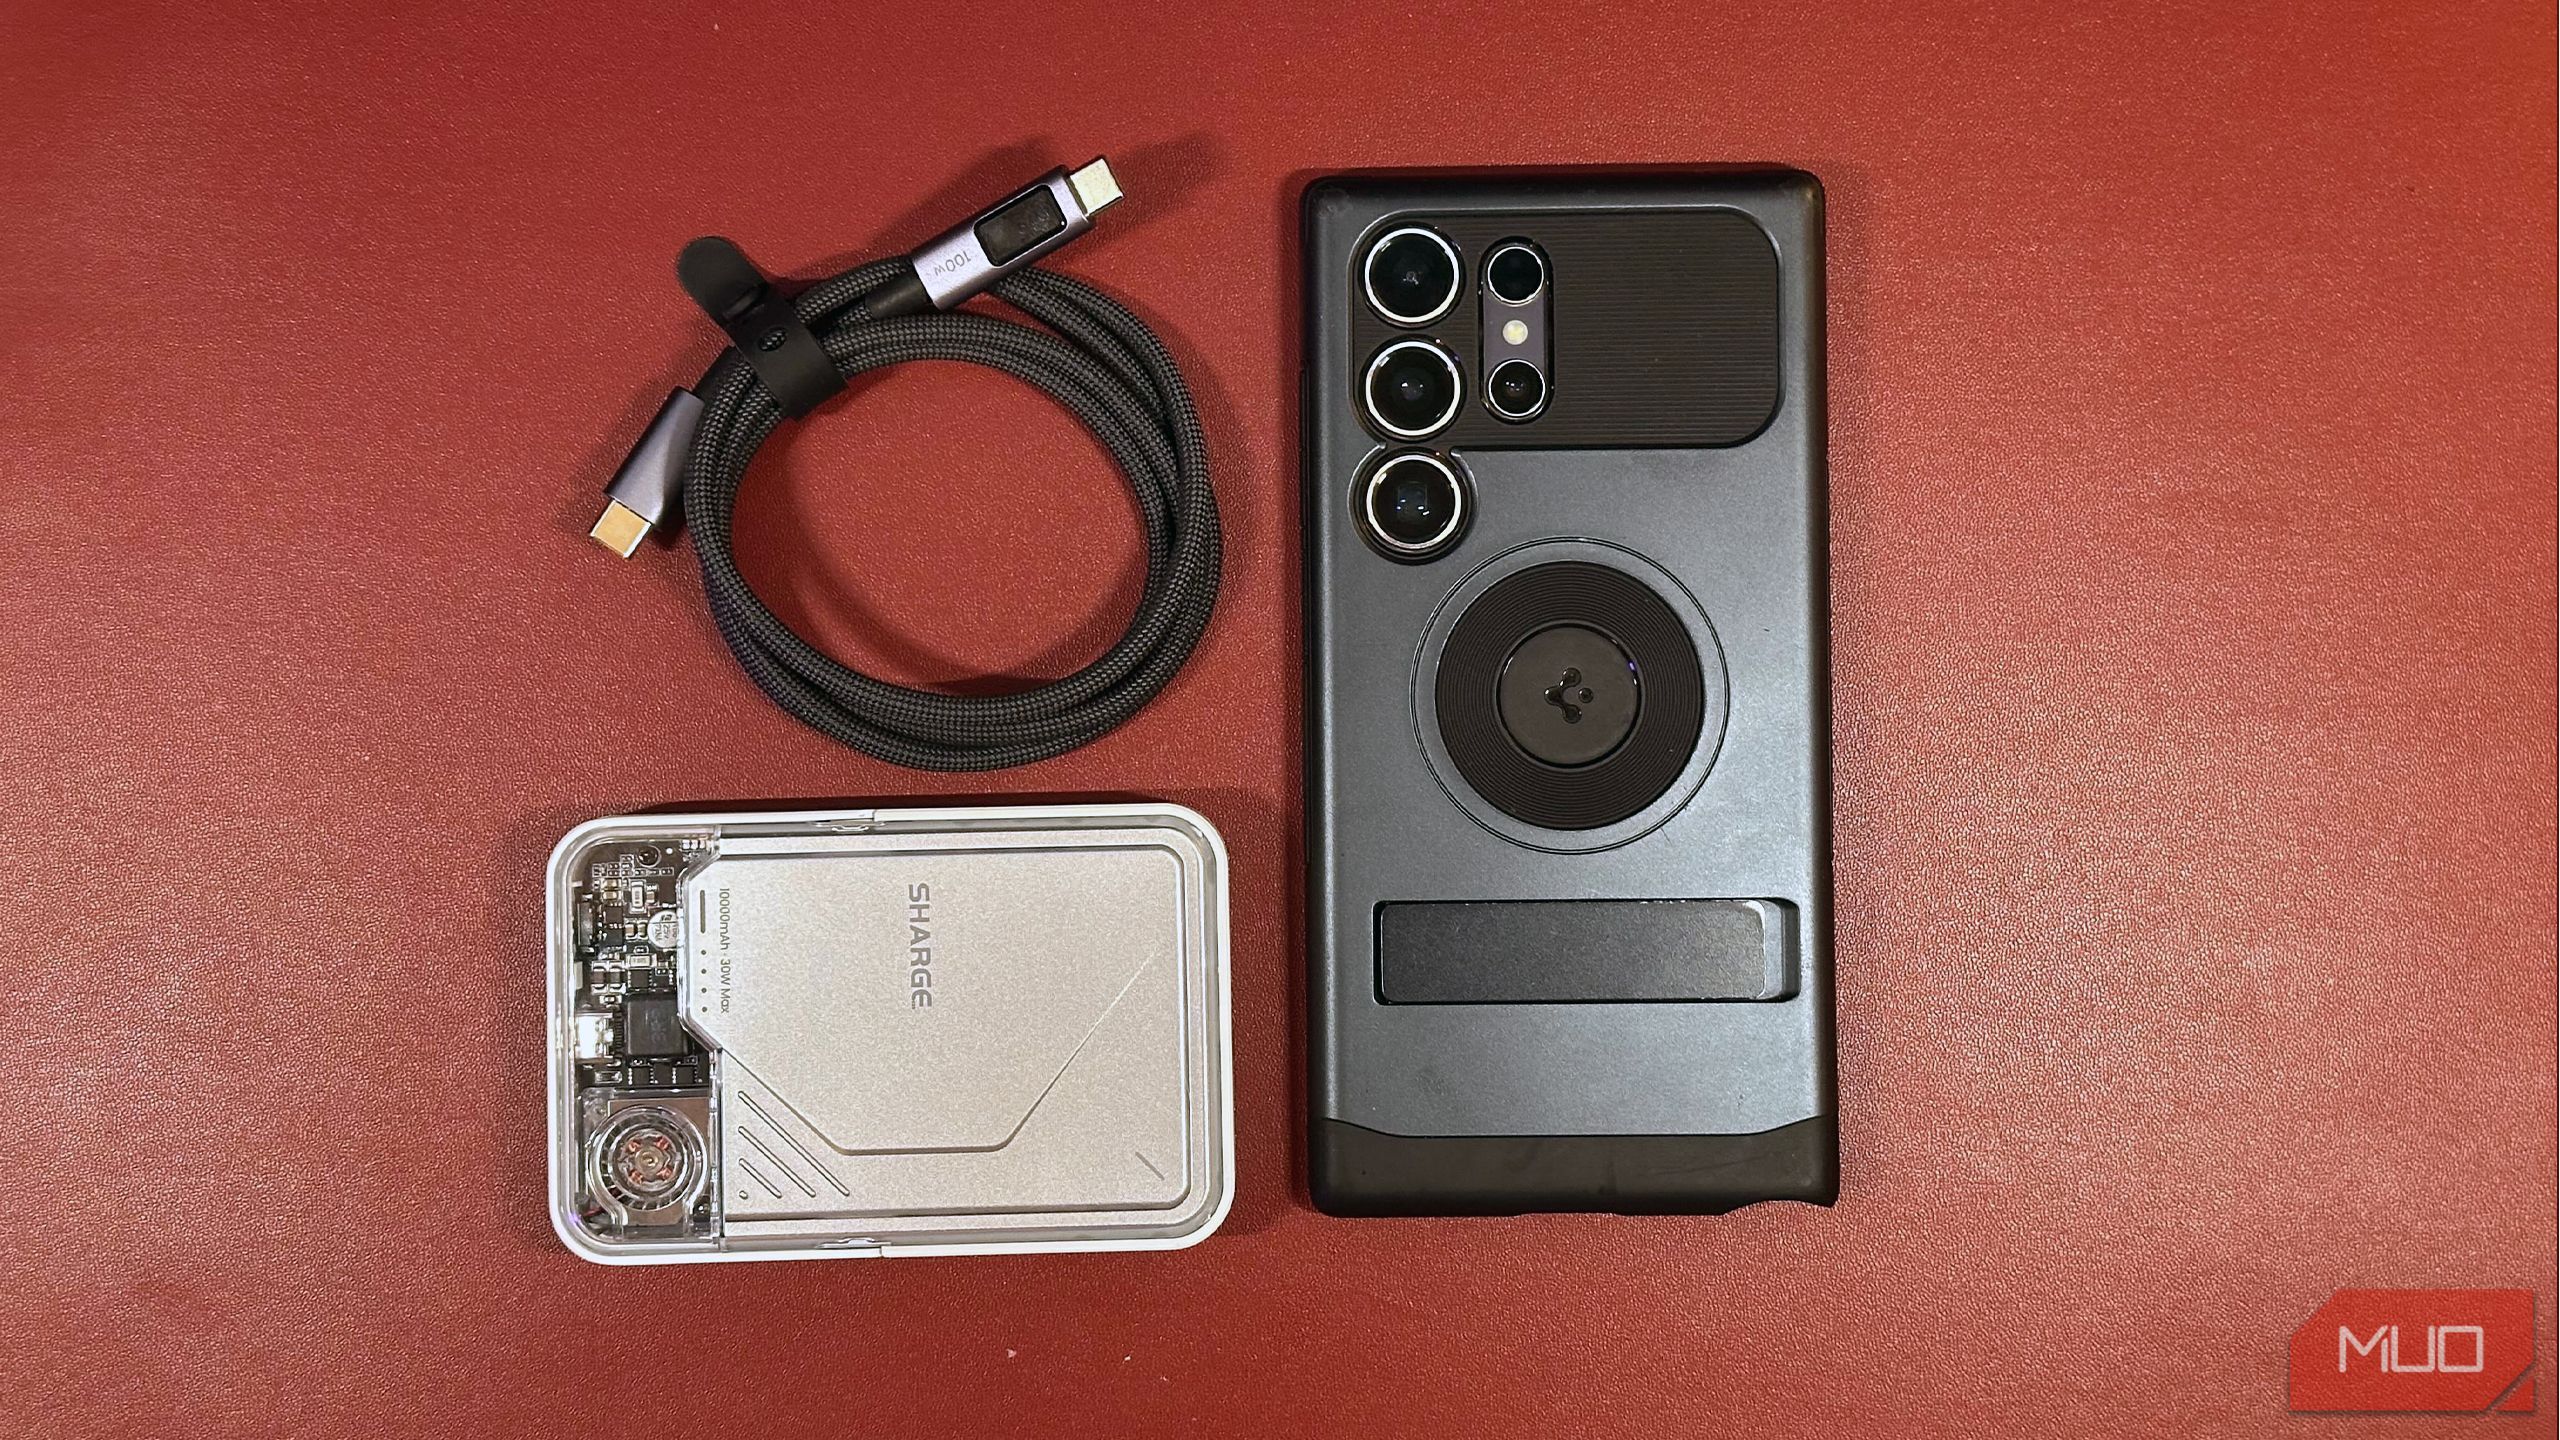
Aside from that, you must have enough battery power to ensure your phone does not die mid-recording. It’s best to start recording with 80% to 100% battery, but if that’s not possible, bring a power bank and a long cable that would allow you to charge while shooting. If you’re also using an external drive, that means you need a high-speed USB hub that will allow you to charge your phone and connect an external drive to it simultaneously.
3
You Need a Tripod and Other Accessories
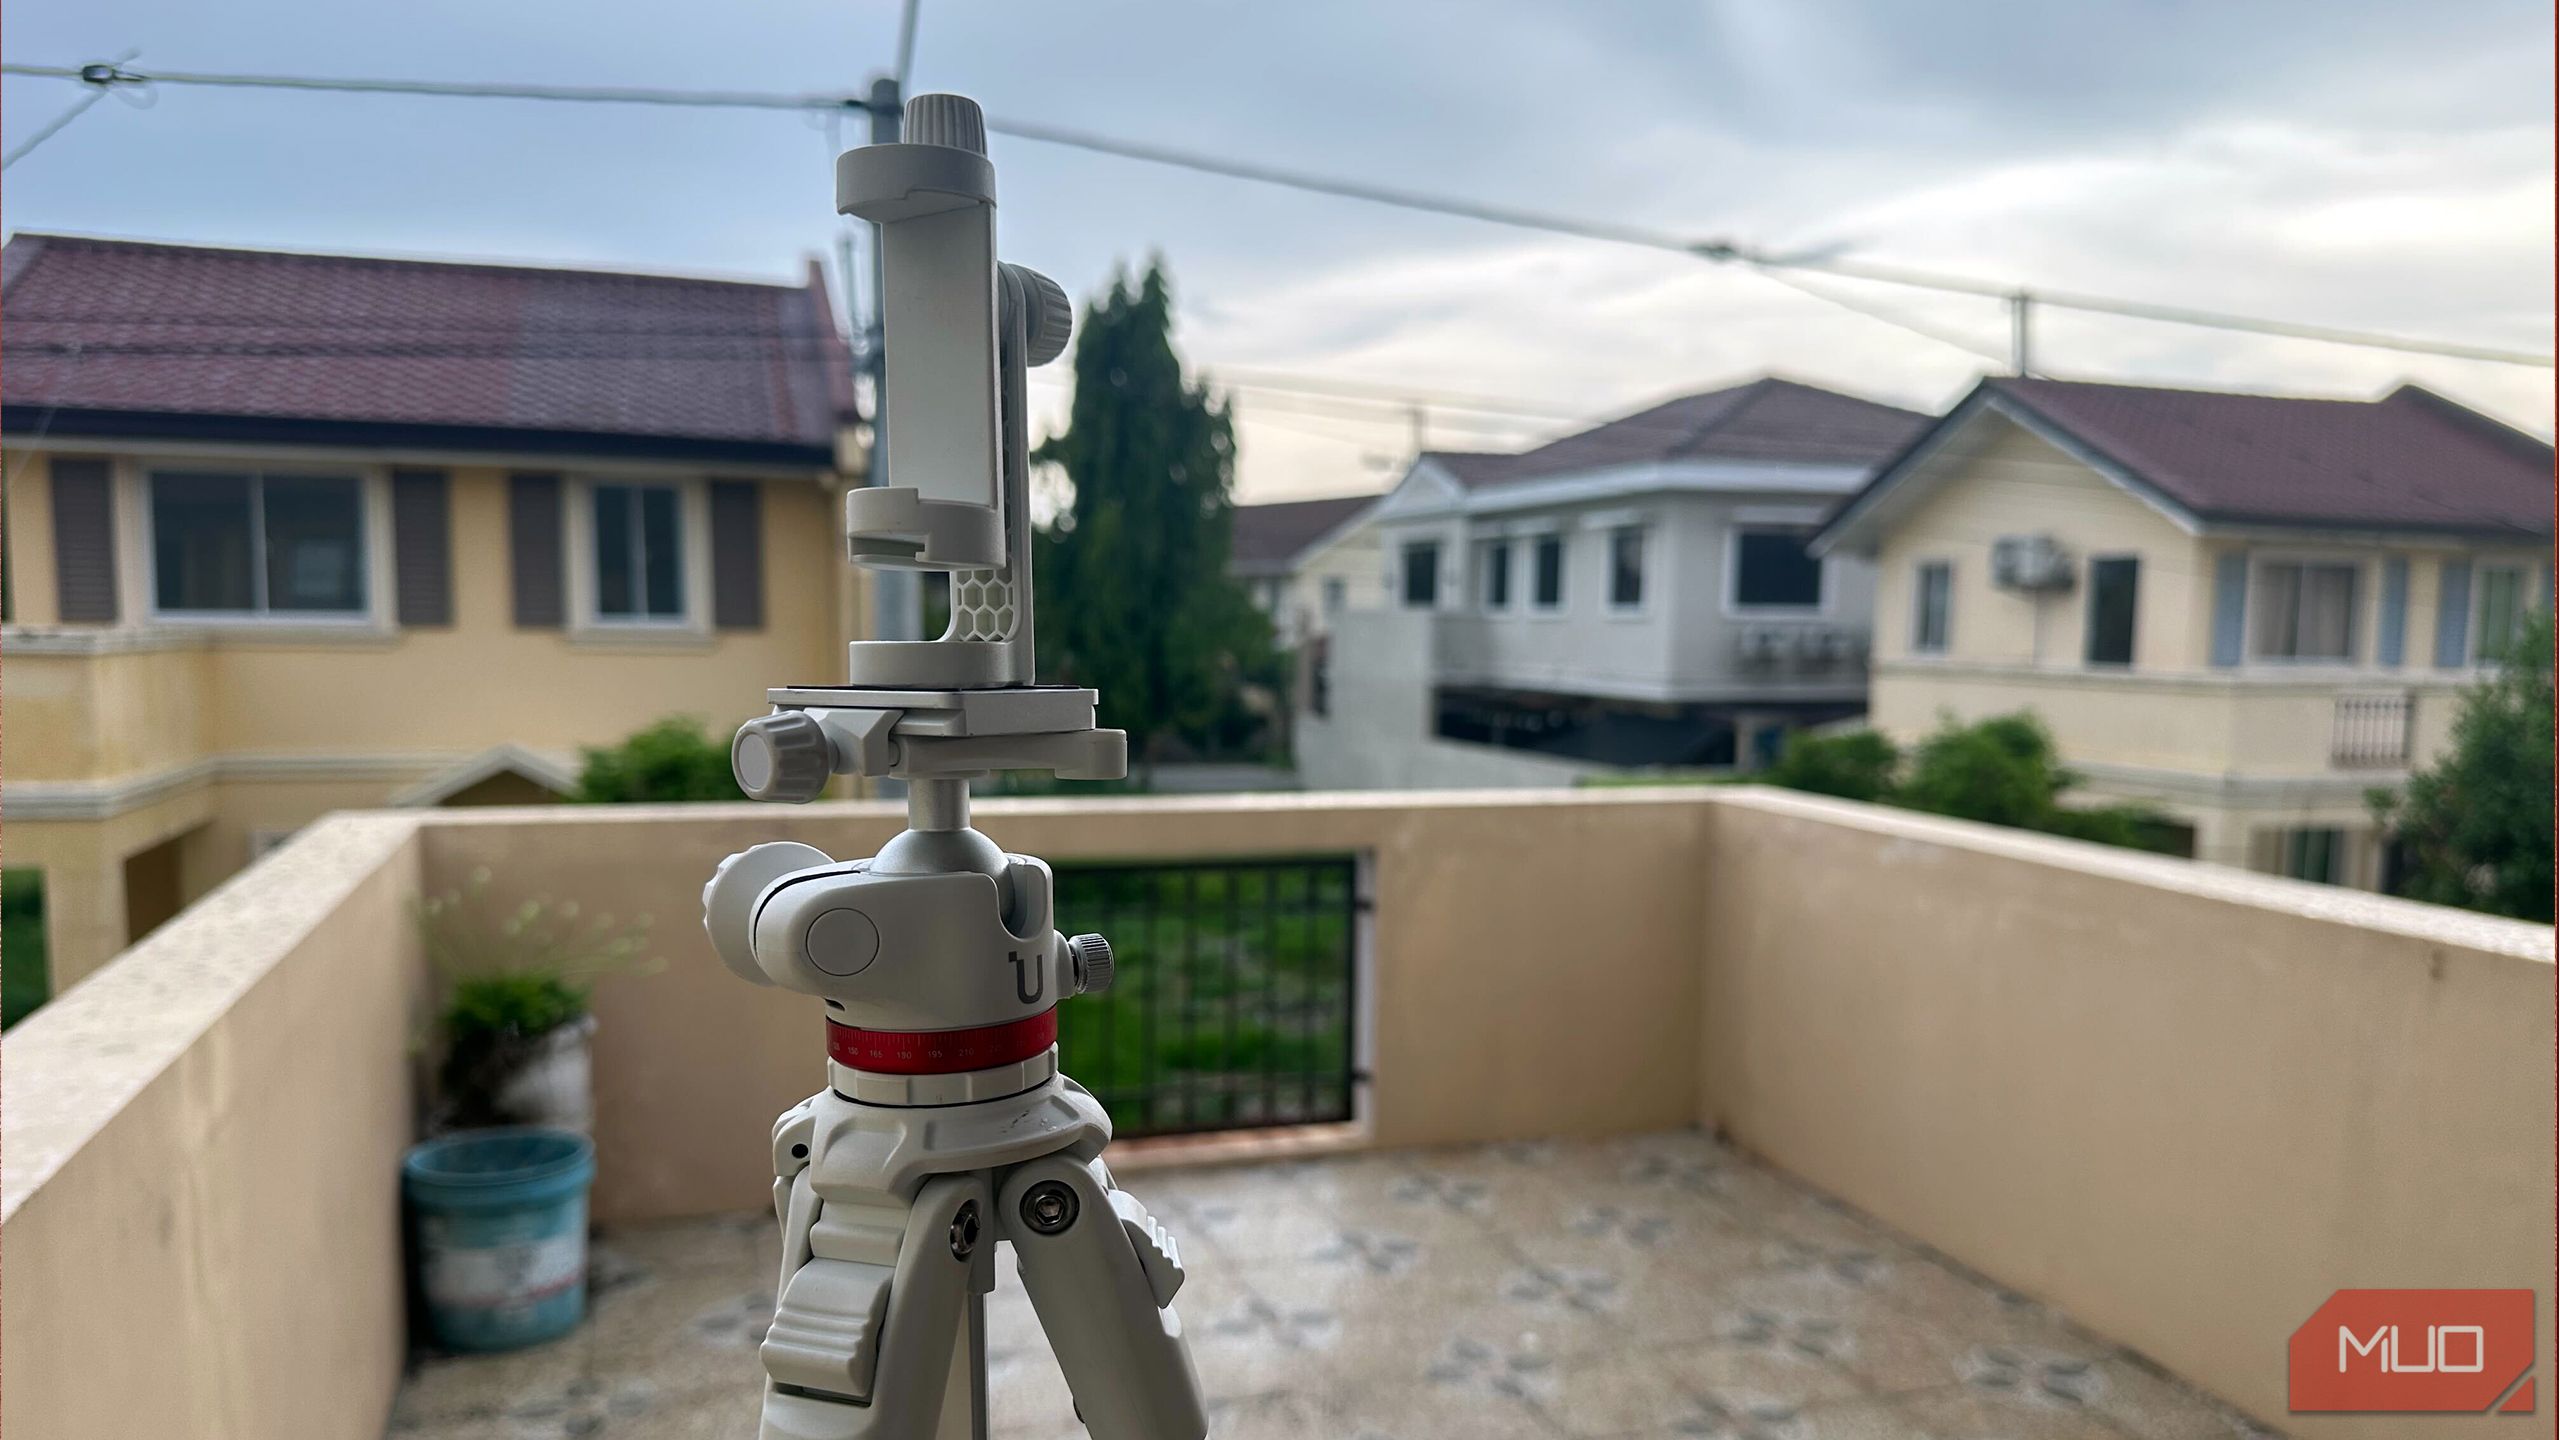
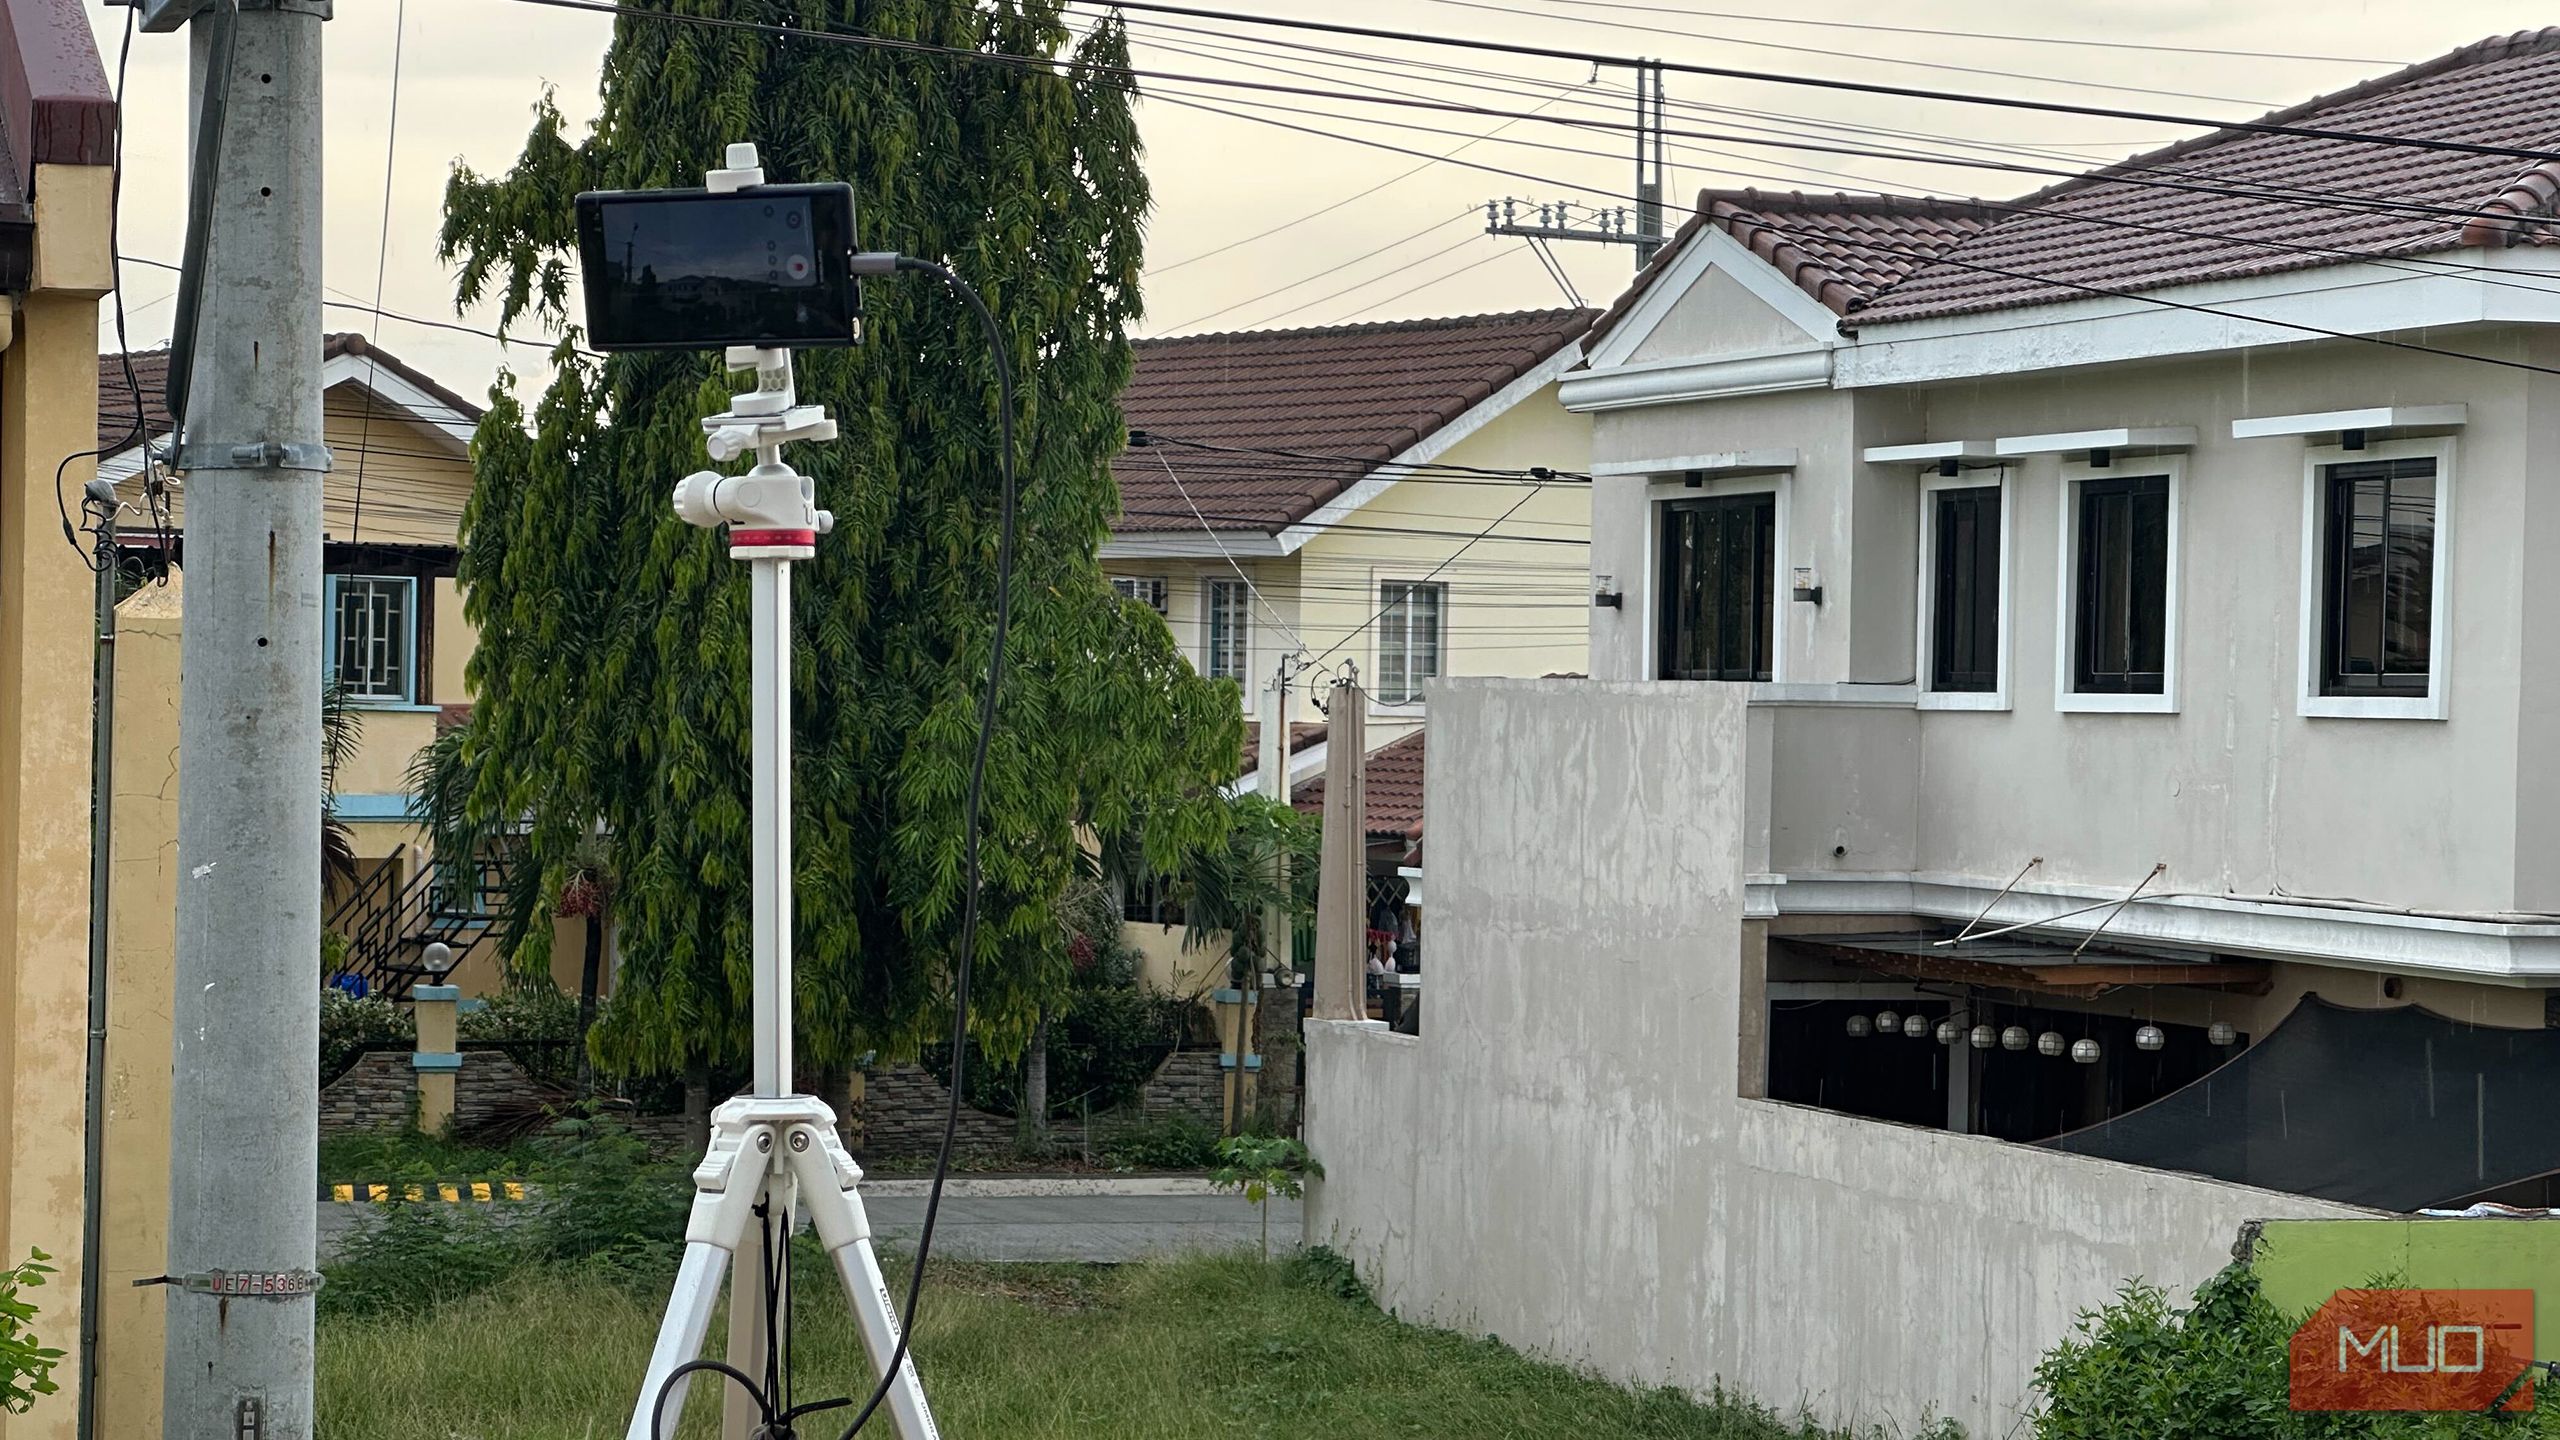
Now that your phone is ready, you need a tripod to keep it steady while recording. This is essential as you want your phone to be as stable as possible and ensure that your video remains fixed at the same spot. If not, you’ll find your timelapse shaky and not as appealing as a steady video. Tripods are essential for smartphone photography, especially for long-exposure photography and timelapse recording.
I also use a heavier tripod designed for DSLR cameras, as they offer more stability against the elements—a crucial characteristic, especially if you’re shooting outdoors. That’s why flimsy tripods (including most that come free when you buy a camera) are one of the smartphone photography gadgets that I stay away from.
Another thing to consider, if you’re shooting outdoors, is to have some protective accessories for your setup. If you’re shooting under the noon-time summer sun, consider investing in an umbrella and a fan to help cool your phone. Otherwise, it could overheat and shut down during recording, ruining the entire shot.
If you’re shooting under inclement weather, consider getting a plastic bag to protect your setup from the rain and weather. And if the wind is blowing, you should add a counterweight at the bottom of the tripod, like a sandbag or a heavy backup, to prevent it from toppling over.
2
Find a Good Spot to Anchor Your Video and Be Mindful of Your Surroundings
It’s time to compose your video. You need to be thoughtful about what your camera sees to make your timelapse more interesting. While the passage of time is likely the main highlight of your shot, you still want to use framing to enhance your final video. You can try these essential techniques to improve your shots when shooting landscape photography on your phone. You can also try different photography composition techniques, which also works with shooting video.
You should also consider where you’re going to place your phone—always think about your safety and that of others when setting up. For example, if you want to take a timelapse video of a massive rain cloud rolling in over a city, ensure that you’re not located in a place that might get hit by lightning. Or don’t put your tripod on a well-traveled sidewalk in such a way that someone might trip over it.
1
Some Video Post Processing Won’t Hurt
When you’re recording your timelapse, always record a little bit more than what you think you’ll need. If you want to shoot an epic sunset, don’t set up your phone five minutes before the sun is gone. Instead, do it at least 30 minutes to an hour before so you don’t miss that short window. And don’t pack up as soon as the sun leaves—instead, wait until everything is completely dark so that you capture everything that you might need.
When you have what you need, don’t forget that a little post-processing won’t hurt. I used my phone’s built-in editor tool to cut the timelapse video to what I need. But you can also use third-party apps like CapCut for color grading, adding slight movement, or whatever you think is necessary to level up your final output.

Related
I Shot This Stunning Long Exposure With Just My Phone—Here’s the Step-by-Step
A tripod, a phone, and 10 seconds—yes, that’s all it took.
With all that information in mind, the only thing left to do is to go out and shoot. There are many different opportunities for timelapse videos out there aside from epic sunrises and sunsets. You can shoot videos of people crossing, or you can capture star trails throughout the night. Highways and airports are good subjects, too, especially if you want highly dynamic timelapses. Just ensure that you stay safe and follow the law when shooting.


Leave a Comment
Your email address will not be published. Required fields are marked *