If you’ve ever suffered the burden of not knowing whether to pack your DSLR or just take your smartphone on a big trip, Adobe’s Project Indigo can put that burden to rest. I’ve used it for a couple of days, and I’m very impressed. It’s like having a DSLR in smartphone size.
Adobe’s Project Indigo Turns Your Phone into a Manual Camera
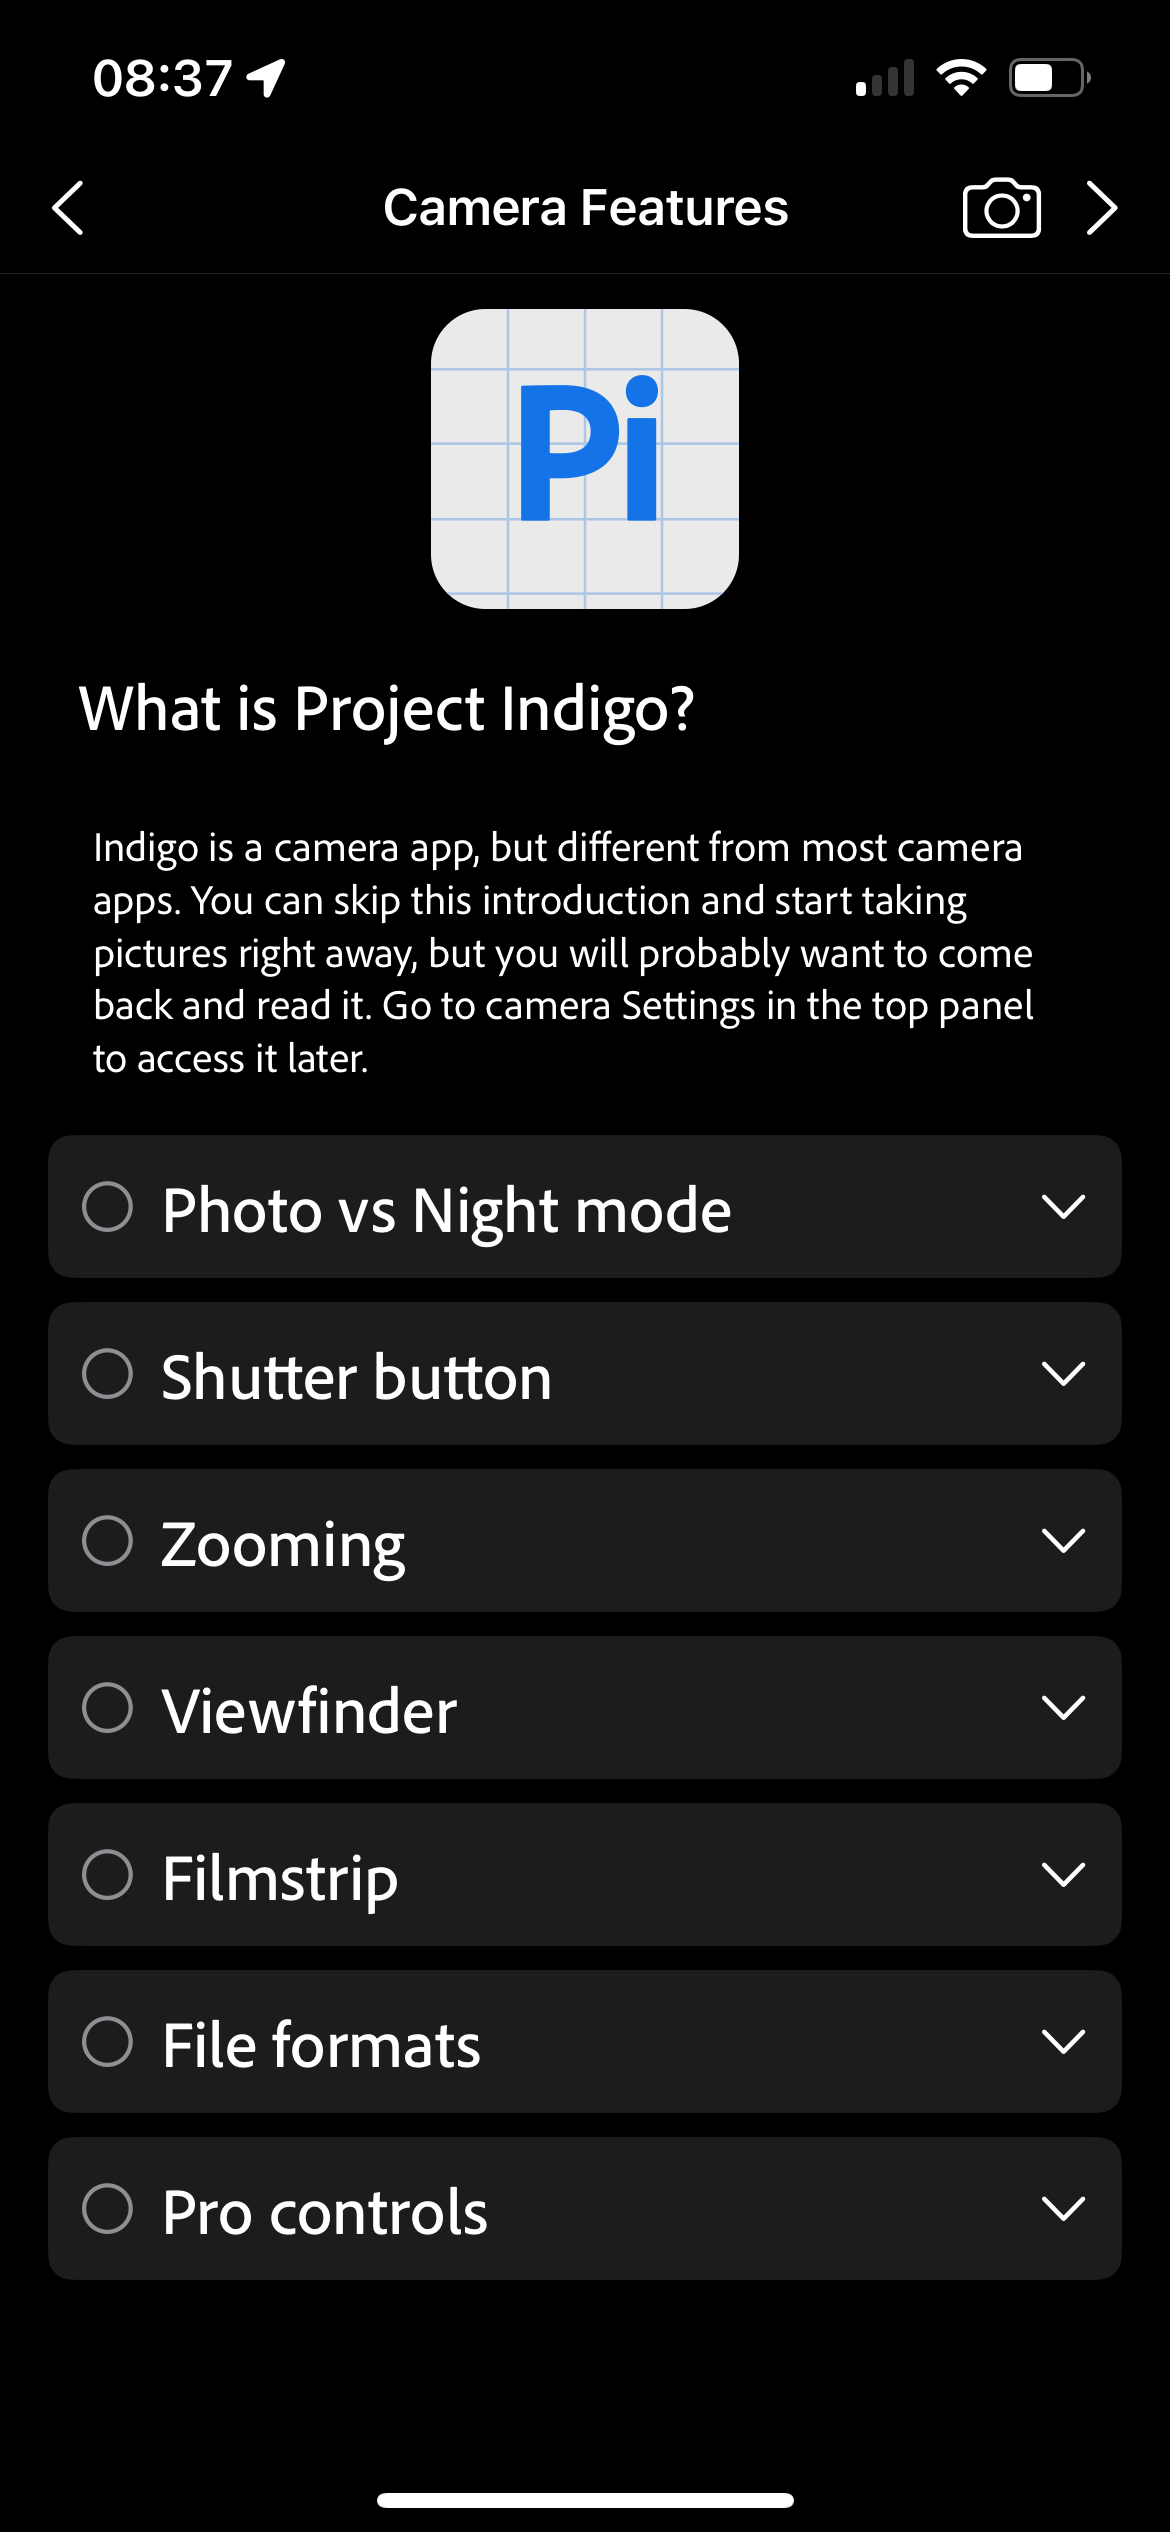
Project Indigo is an Adobe camera app developed by ex-Google Pixel engineers. With the main focus of Project Indigo being image quality improvement, it features tools and controls typically only found on professional camera equipment.
Download: Project Indigo (Beta) for iOS (iPhone 12 Pro or newer or iPhone 14s and newer) (Free)
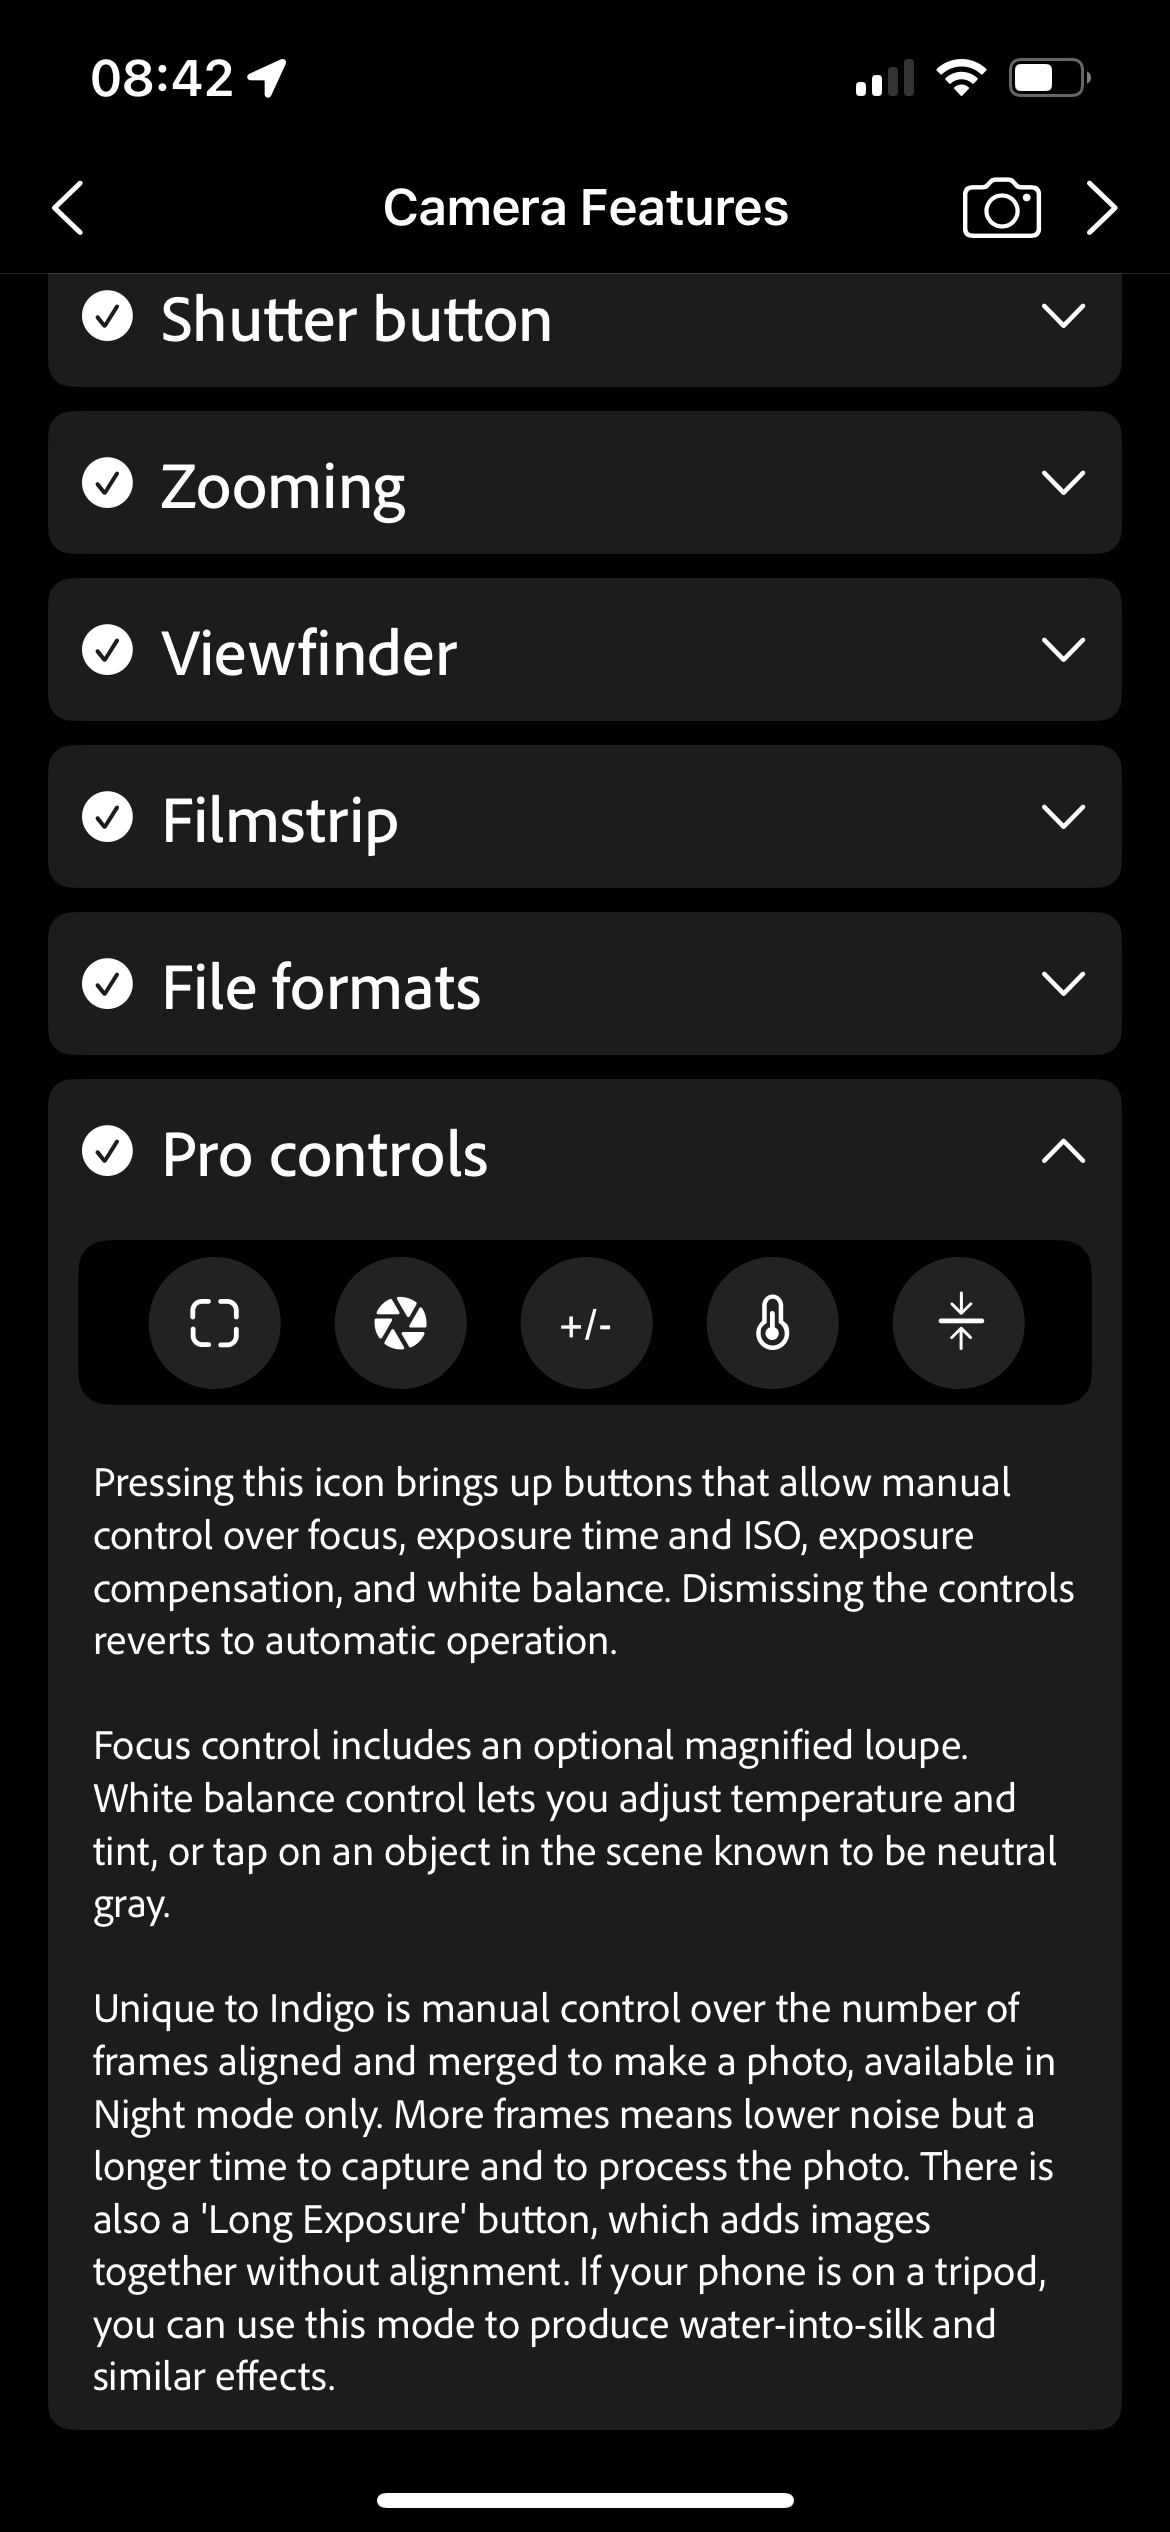
Your DSLR settings offer fully customizable photography options, such as changing the shutter speed, aperture, focus distance, exposure, white balance, and ISO. Most DSLRs also provide histogram viewers to see exposure levels, grid lines, spirit levels (usually found on tripods used with DSLRs rather than cameras themselves), access to both RAW and JPEG, and other features.
Although currently in Beta mode, Project Indigo—which will likely eventually be integrated into the Lightroom Mobile app from Adobe—adds all the above-mentioned features to your phone’s camera.
I love being able to change my ISO level to reflect the light of the situation, as well as choosing specific focus ranges with authentic contrast between in-focus and out-of-focus. Project Indigo has a histogram displayed at all times to help you navigate better exposure, and you can also switch on an overexposure warning to visually see bright spots.
You can also change the shutter speed on regular photo mode or use the Night Mode setting. And to ensure better post-production editing, you can switch on whether to capture your images in JPEG only, JPEG and DNG (a RAW format), or solely DNG for more detailed editing later.
Night Mode to Rival a DSLR’s High ISO
I’ve used night mode from my phone’s camera before, with good enough results. The night mode on Project Indigo directly replicates using a super-high ISO on a DSLR—the more authentic way to achieve an image in the darkness.
Most phone camera night modes don’t allow you to customize the ISO itself, opting for auto exposure. ISO reflects the light sensitivity of the film on your camera, even in digital cameras it works the same as with film.
The lower the ISO, the less sensitive to light the sensor will be. This means night mode photography requires a higher ISO to increase the light sensitivity of the sensor. Pairing this with a stable camera (on a tripod or balanced on a sturdy surface) means you can achieve great photos at night.
I didn’t have access to a tripod to test Project Indigo’s night mode to its full extent. Where I live, it doesn’t get dark until sometime after my bedtime during the summer months, but I tested night mode as the darkness fell, and I was impressed with the results. Even zooming in, the results were high quality.
A higher ISO will usually result in a grainier photo. I think the sharpness of the images is impressive given how dark it became at that time.
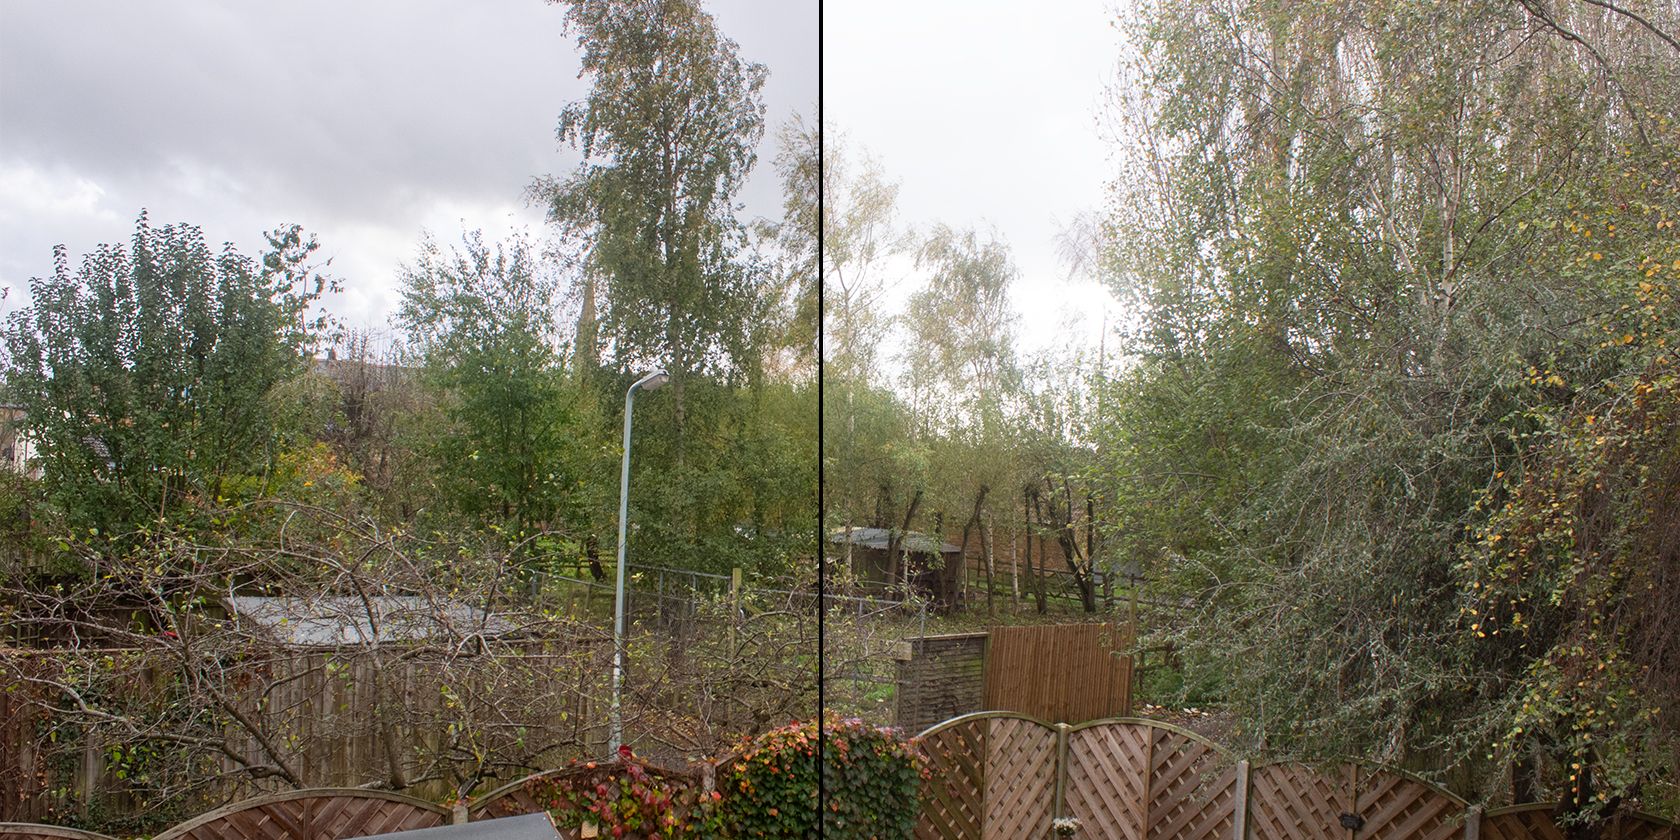
Project Indigo’s technology computational photography to improve night mode imagery and overall better quality photos. This means Indigo captures up to 32 frames each time you tap the shutter, and then it combines those frames to provide dramatically clean results. This is seen in better low-light imagery and preserved highlights in your shots. It’s similar to how you create HDR images, but with more layers.
Related
How to Create HDR Images in Photoshop With Camera RAW
Using Camera RAW in Photoshop, you can easily turn your bracketed photos into a beautiful HDR. Here’s how.
Manual Focus Range Shoots Portrait Mode Out of the Water
One of the settings on Project Indigo’s camera is a manual focus range. This is commonly found on DSLR cameras by switching between auto-focus and manual-focus modes. This, then, allows you to engage the focus ring to choose which distance of your image is in sharp focus and which parts are thrown into bokeh blur. Your aperture also affects the contrast between in and out of focus areas.
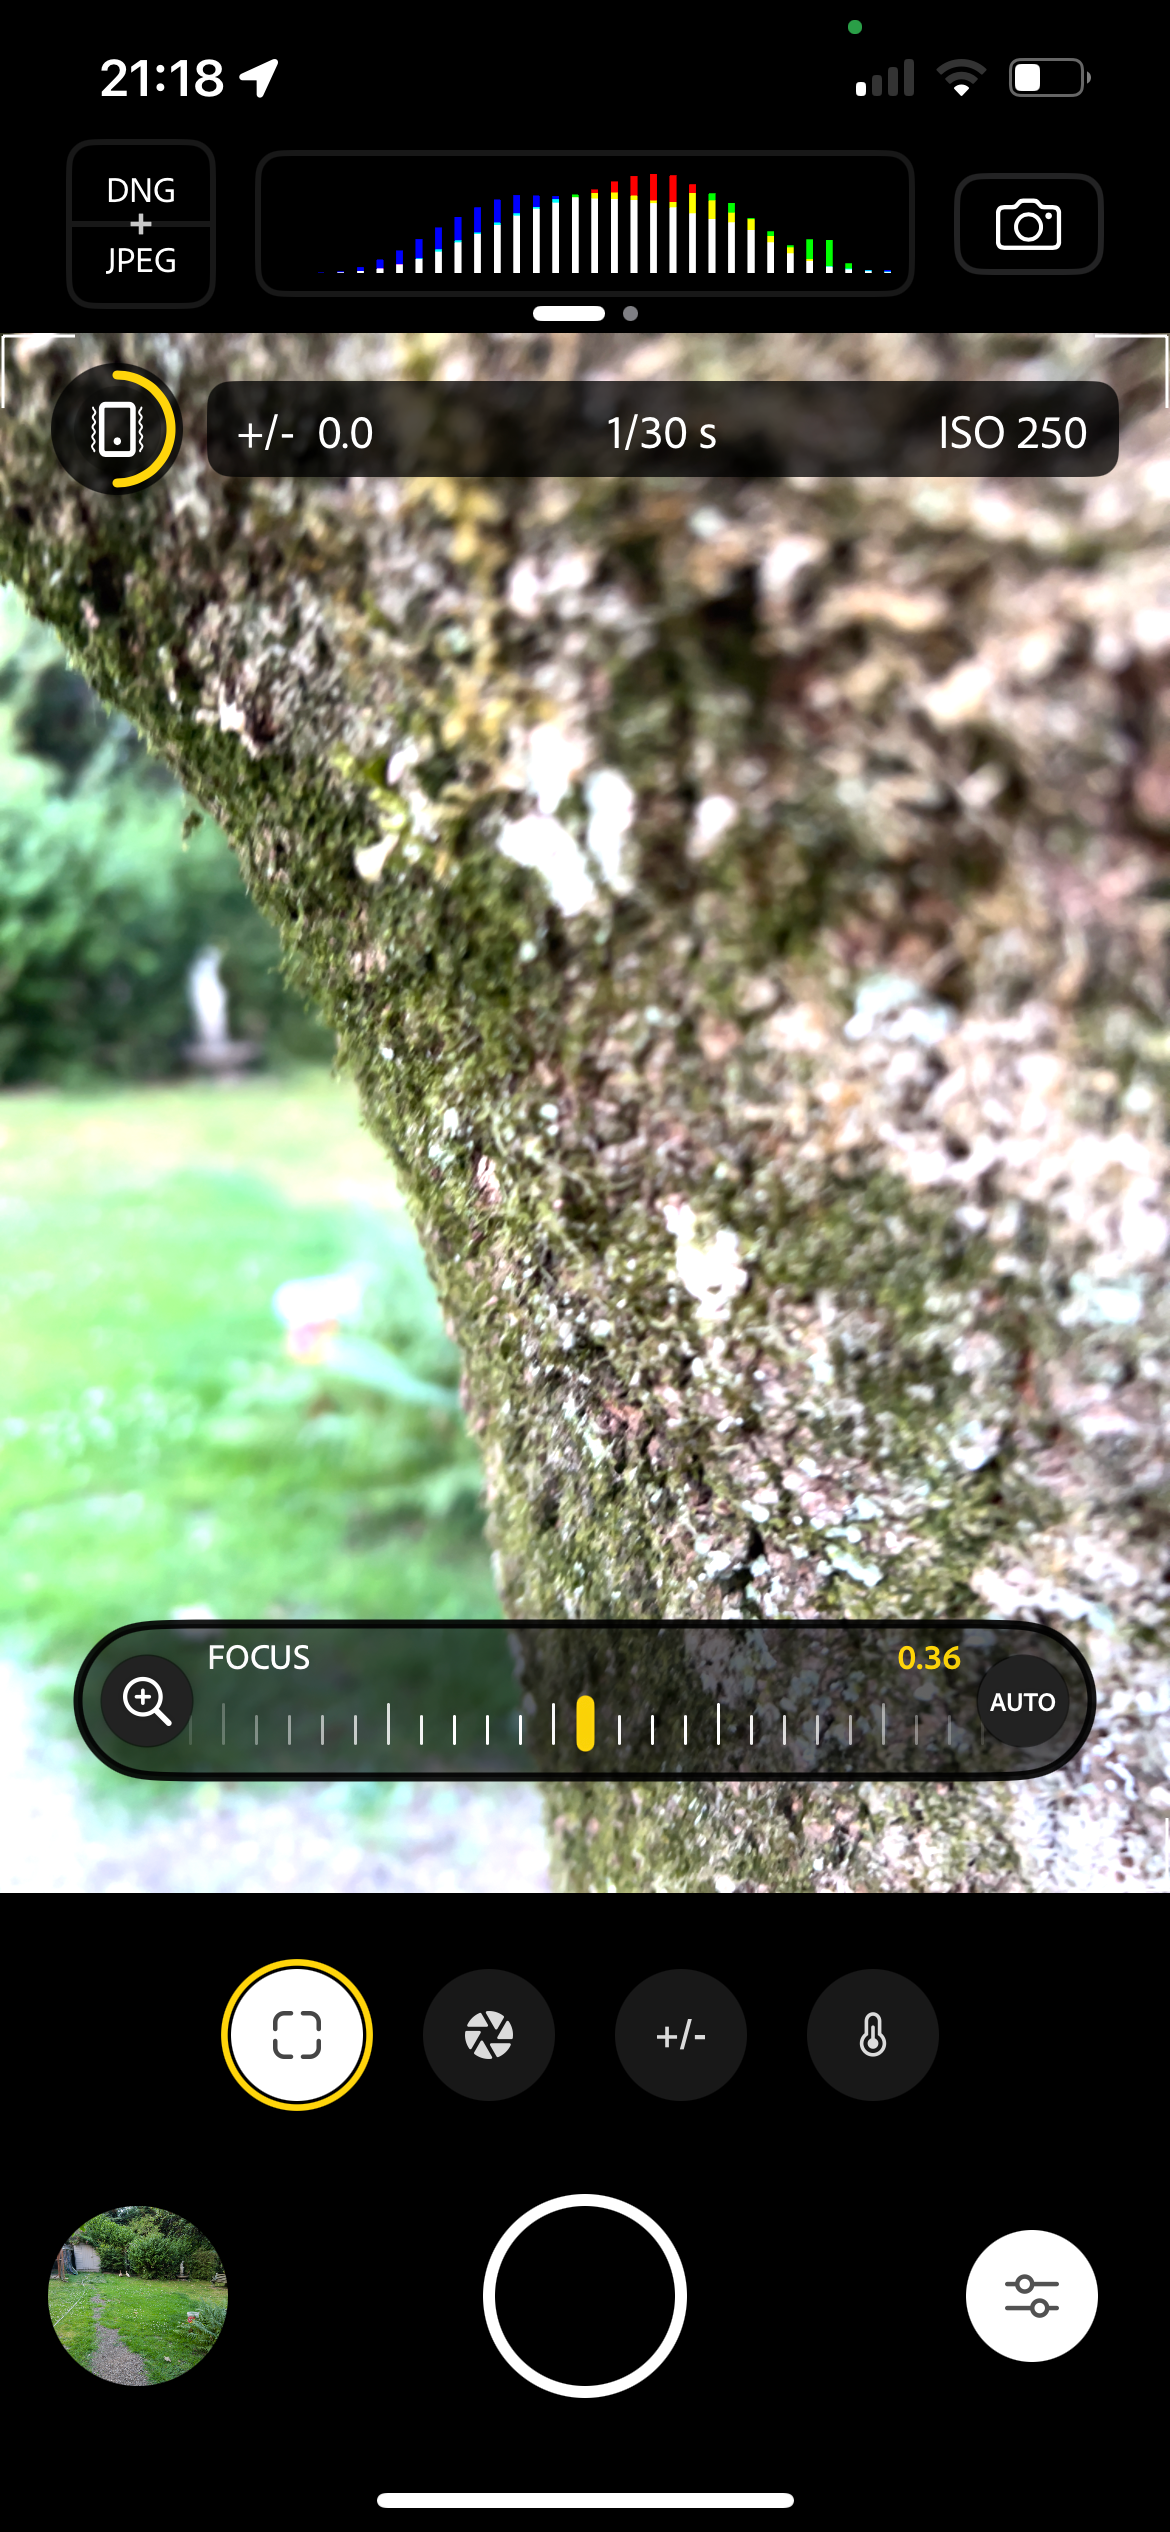
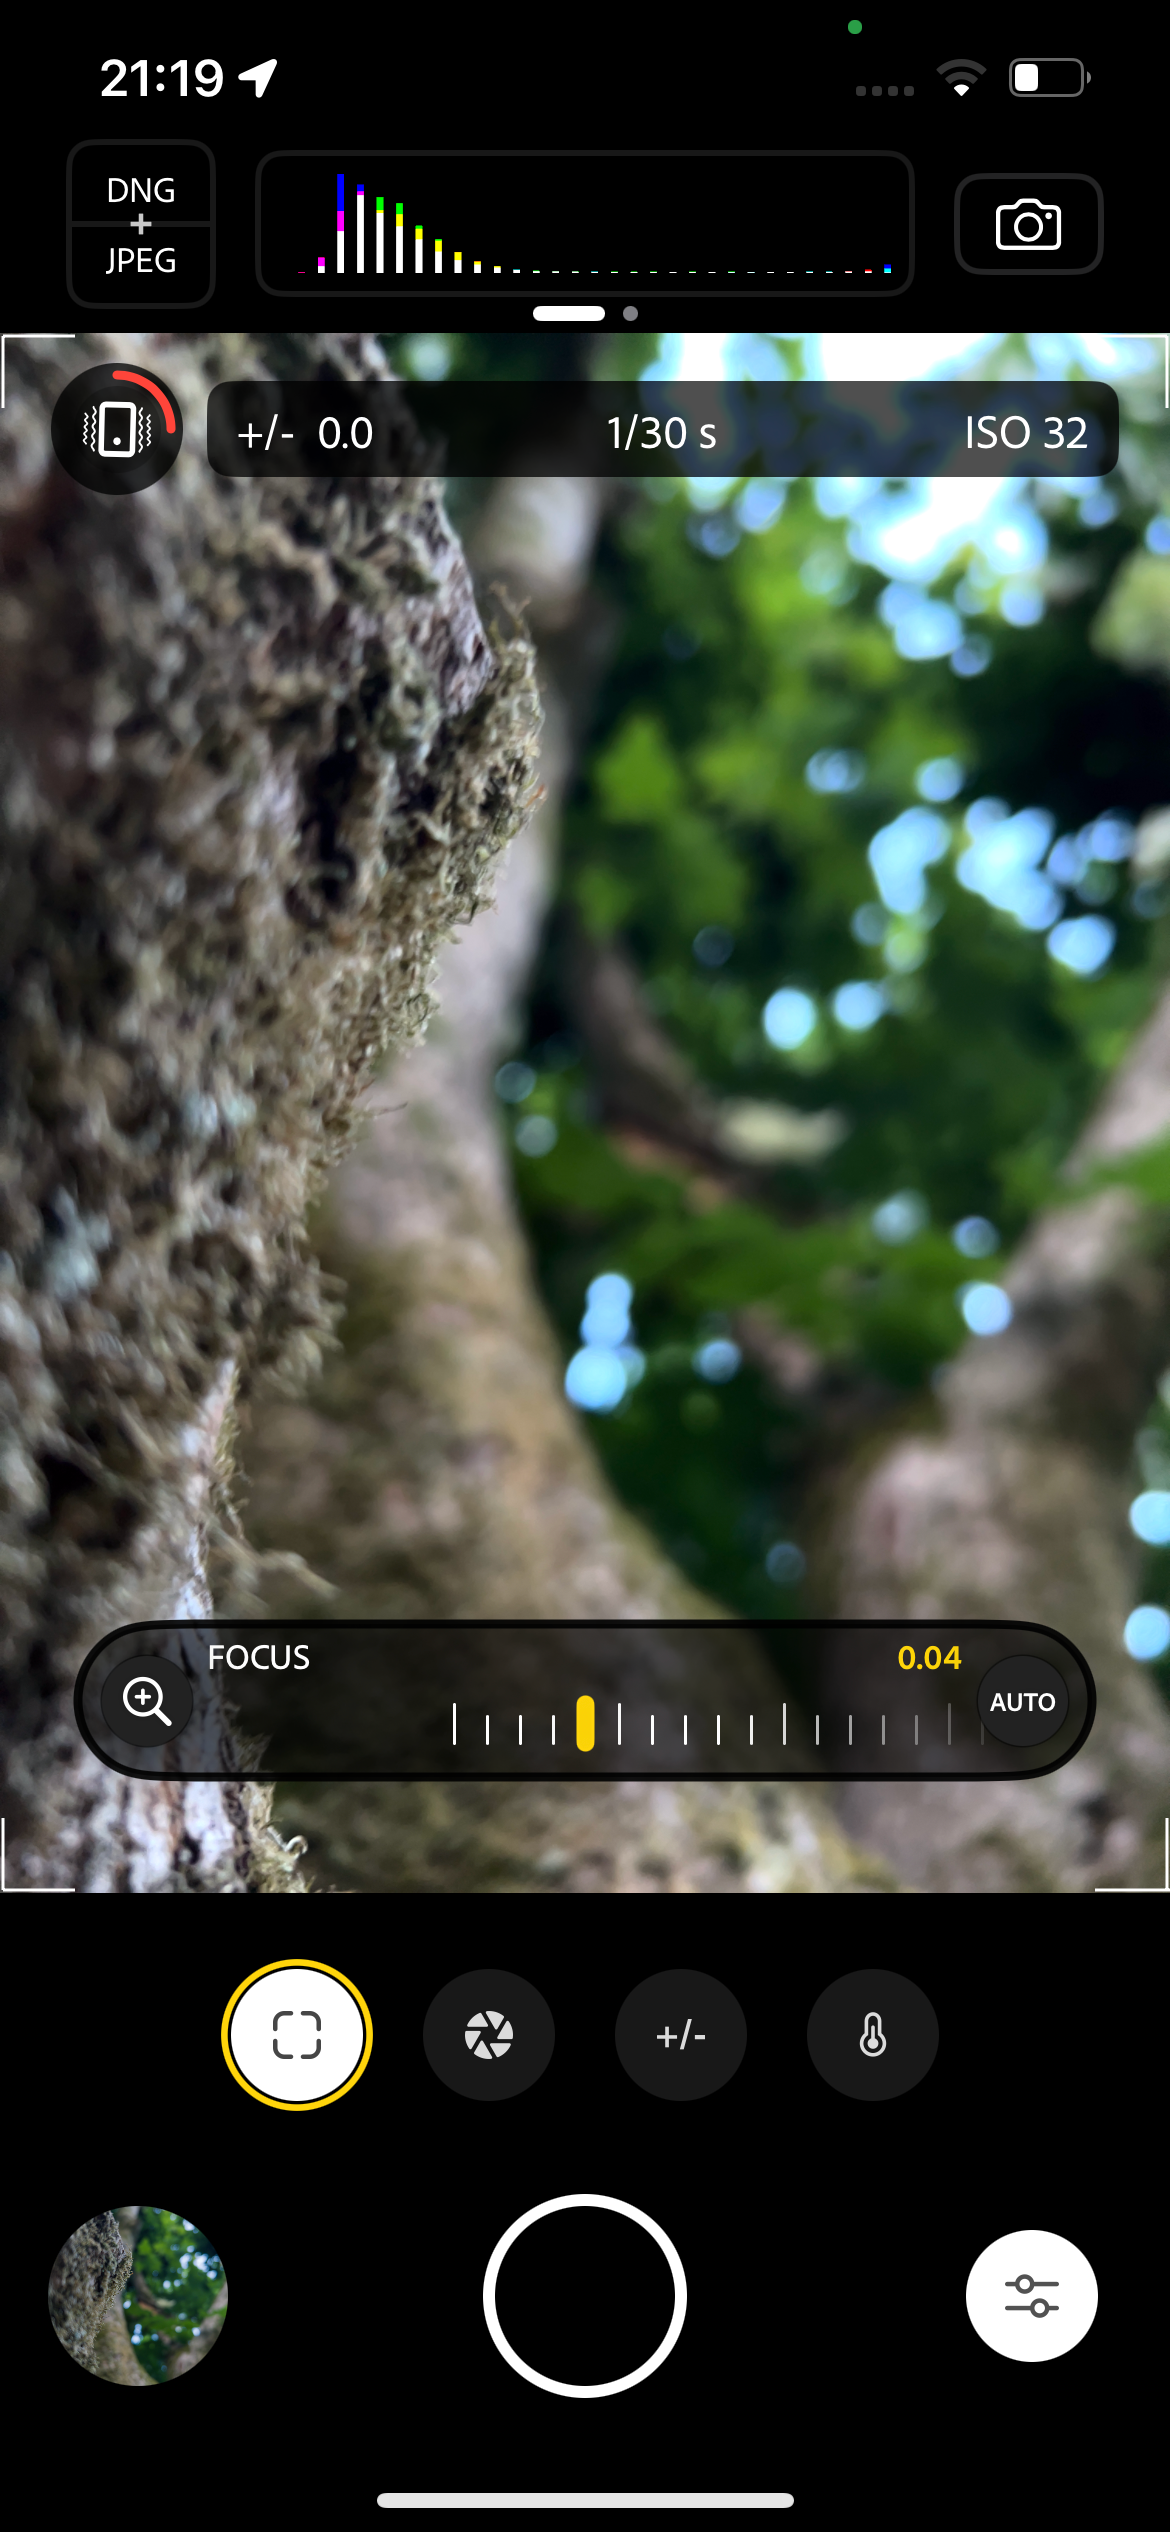
Project Indigo doesn’t have specific aperture settings, but its focus range is entirely customizable—or you can leave it on Auto—to choose how much of your image will be in sharp focus. The camera does benefit from the multiple lenses on your iPhone despite not being able to select the aperture itself.
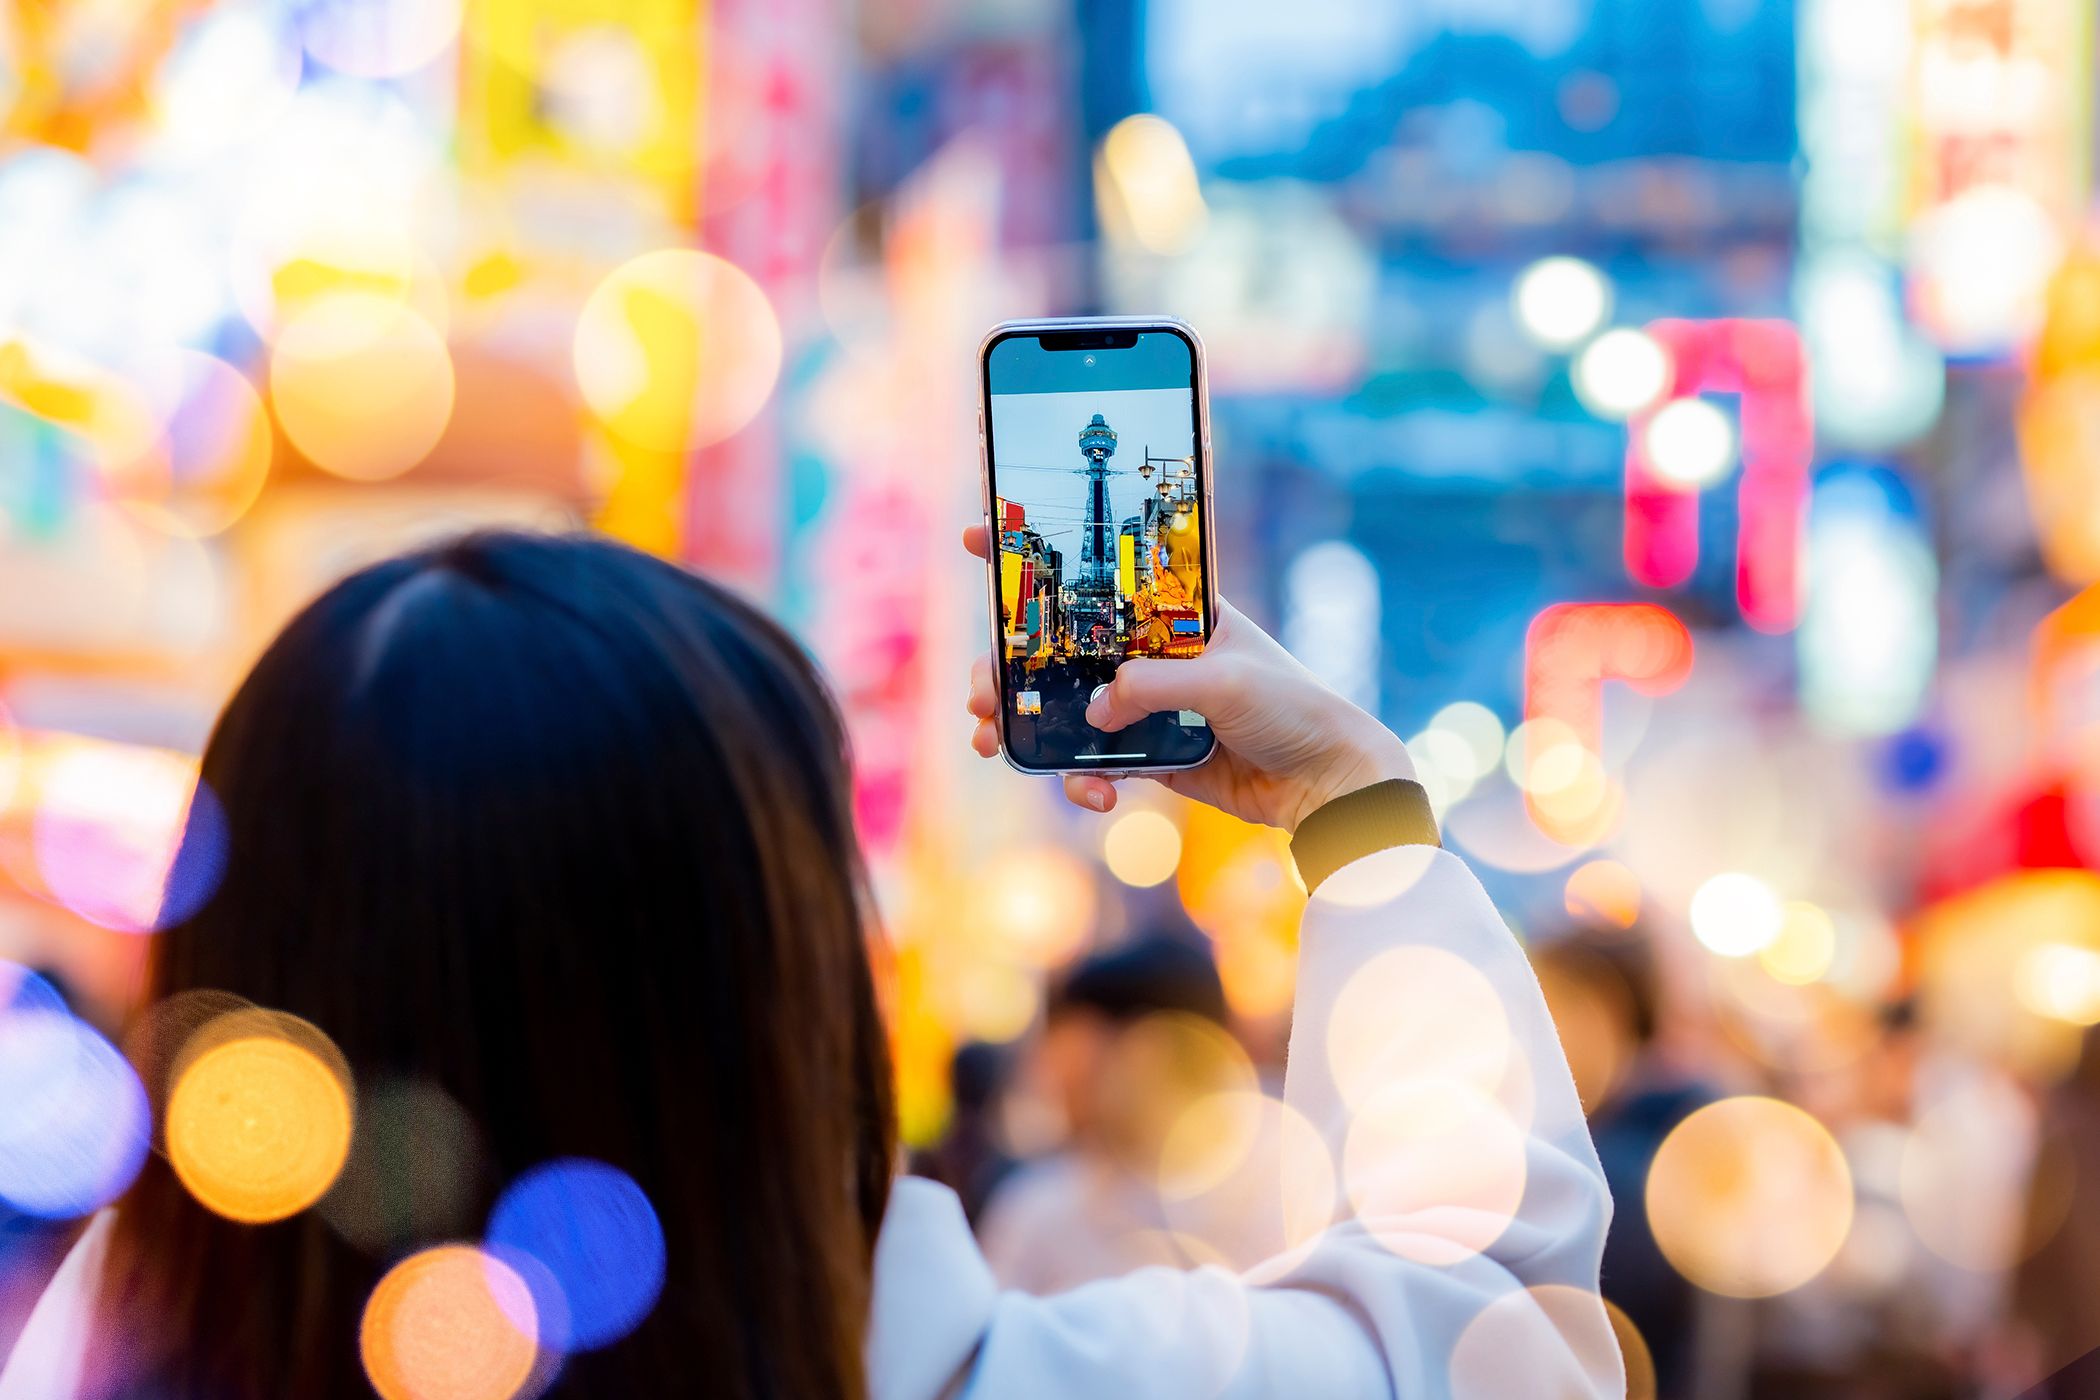
Unlike the iPhone’s Portrait Mode, there’s no obvious blur line between the sharp areas and the bokeh blur, since Project Indigo is technically changing the focus, rather than artificially, like with Portrait Mode.
Related
Here’s How I Get the Bokeh Photo Effect Using My Smartphone
iPhone and Android don’t have a native bokeh setting in their camera apps, so how do you create one? Here’s how I do it.
Connect Directly to Lightroom Mobile for More Benefits
Project Indigo is still in Adobe’s beta mode, so this isn’t the end goal of the app. While it isn’t confirmed how or where we might find these tools in the future of Adobe’s features, there’s a strong assumption that it’ll be integrated into the Lightroom Mobile app rather than becoming its own tool (although this is my assumption, not confirmed by Adobe).
When using Project Indigo, you can easily send your new photos to Lightroom Mobile to continue working on them. Selecting any image from your Indigo filmstrip library will encourage you to open or install Lightroom Mobile. It will send a JPEG if you shot in JPEG mode or if you shot using DNG or the combined JPEG and DNG option, it will open a RAW format image to Lightroom so you can focus on the finer details in your editing.
You can connect Project Indigo to replace the camera in Lightroom Mobile. Go to Lightroom Mobile’s App Settings > Early Access and toggle on Project Indigo. After this, if you choose the integrated Lightroom camera, you’ll have an option to coninue taking the photo in Lightroom Mobile or opening Project Indigo’s camera instead.
This Free Beta-Mode App Won’t Be Here Forever
As mentioned, Project Indigo is currently in beta mode by Adobe Labs. This allows smartphone users to install and use Project Indigo for free until the beta ends.
As a beta app, Project Indigo is only available for iPhone 12 Pro or newer or iPhone 14s and newer for non-Pro iPhone models. Once the beta ends, there’s a chance there’ll be a separate beta for Android models, if we look historically at other Adobe mobile apps.
After all beta testing is finished, it’s likely that Project Indigo—under its new name, which is unknown right now—will become one with Adobe’s subscription model. This means some of its features may be premium access only, or even the entire app.
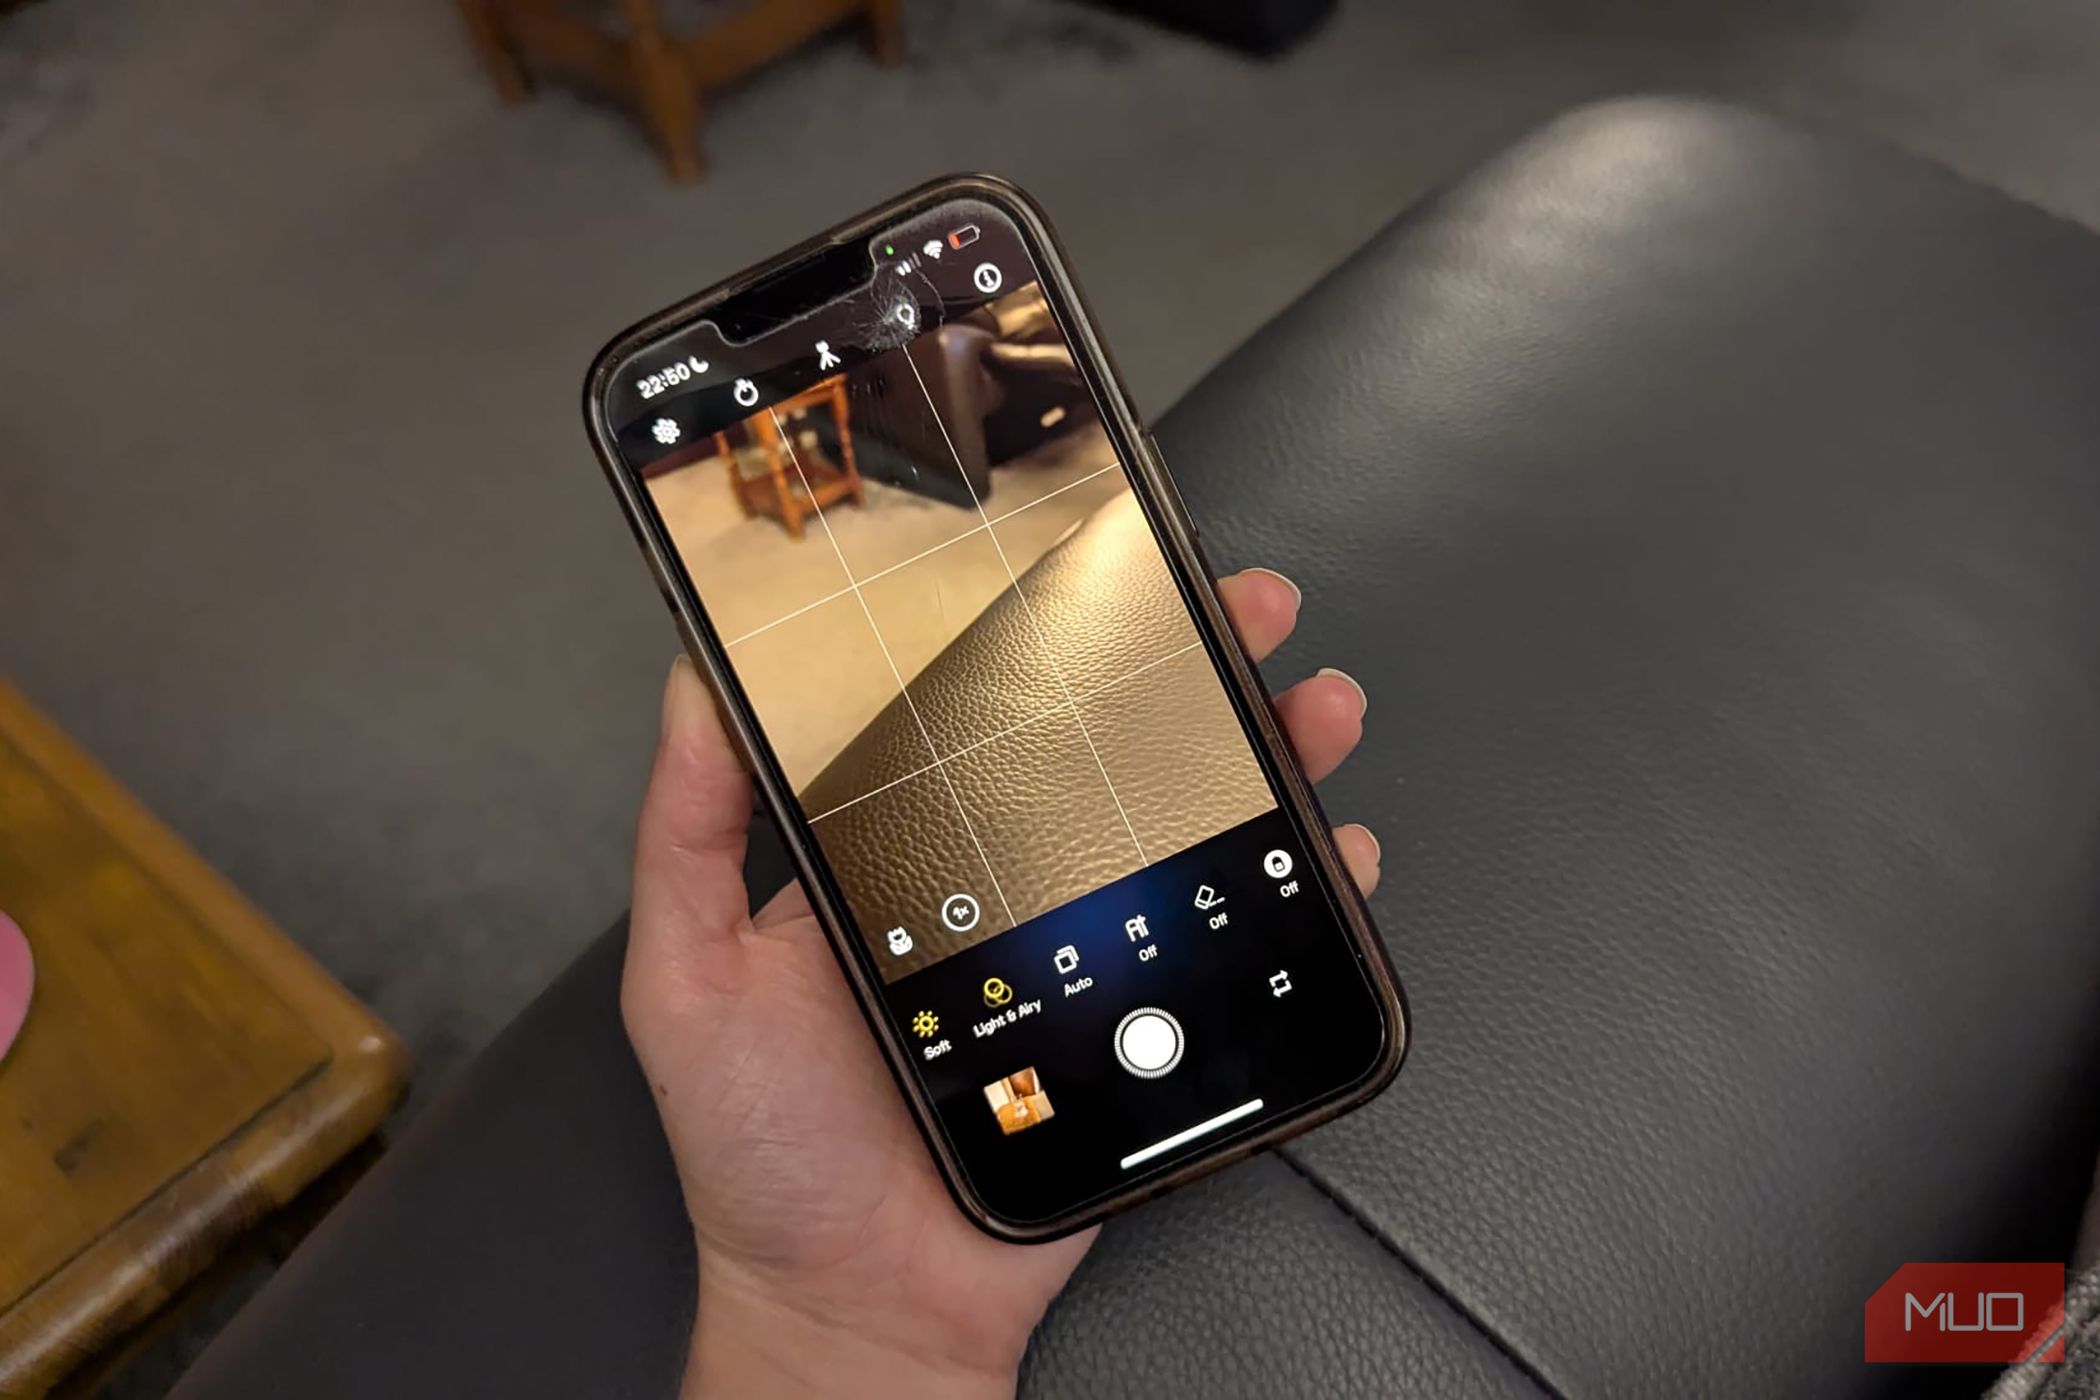
Since it’s free for anyone to use now, and it really feels like a DSLR camera in your pocket, I would install Project Indigo and use it as my go-to camera until it’s no longer an option. Adobe doesn’t usually say how long beta modes last for, so who knows how long you’ll have to access Project Indigo for free.
Related
People Keep Asking What Camera I Use—It’s Just This App
I don’t carry a DSLR. I carry this app.
As an Adobe user and occasional smartphone photographer, I’m severely impressed by Project Indigo. The app is gimmick-free and gives a serious, professional vibe to smartphone photography. It doesn’t feel like Adobe is trying to reinvent the wheel by releasing this app like it does with the many Adobe mobile apps that all do similar things.
This feels like an app I would prefer to use over my iPhone’s native camera. Even in beta mode, the issues are null, and I’m impressed with the interface, ease of use, and results of photographing with Project Indigo.


Leave a Comment
Your email address will not be published. Required fields are marked *