The iPhone comes with a built-in file manager called Files. While you may be using it to access, organize, and manage files stored locally or in iCloud, there are many more things it’s capable of doing that aren’t immediately apparent.
From allowing you to access files stored on external devices and other cloud storage services to simplifying everyday file operations, Files handles a range of tasks surprisingly well. Let’s dive in to explore them.
1
Instantly Preview Common Files Types
Apple’s Files app has a built-in preview system called Quick Look, which supports a wide range of file types across various categories, including images, videos, audio, archives, and documents. Thanks to it, you can preview files and perform edits on them without needing an additional app.
This functionality works seamlessly, whether your files are stored on your iPhone locally, iCloud, third-party cloud storage services, external storage devices, or even on remote servers. To use it, head to the folder with the file you want to open and tap it. This won’t work if you have an app like Documents installed on your iPhone, which will try and open the app instead. To force Quick Look you can long-tap on the file and select the “Quick Look” option in the context menu.
Sadly, Files doesn’t let you preview multiple files at once. But we can work around that with the help of a shortcut. Head to the Shortcuts app and create a new blank shortcut. Find and add the “Quick Look” action to the shortcut. Then, tap the “i” button at the bottom and toggle on the “Show in Share Sheet” option. Tap the “Input” text on the Show action and select “Shortcut Input.” Give the shortcut a name and save it.
Once done, head back to the Files app. Now, tap the three-dot menu in the top-right corner and hit “Select.” Select all the files you want to preview together, tap the Share button in the bottom-right corner, and select the shortcut you just created in the Share Sheet. Files will open the selected files in Quick Look. Swipe left or right or scroll up or down to navigate between the open files.
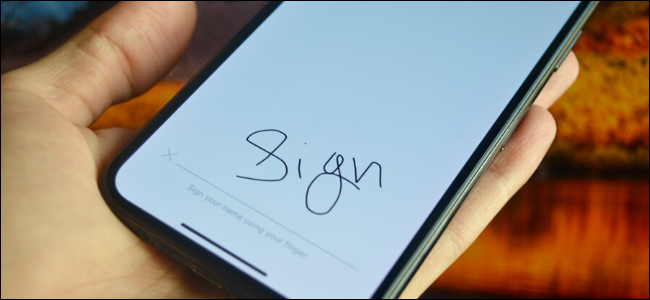
Alongside Quick Look, the Files app also integrates a built-in markup tool for all your markup needs. Using it, you can annotate, draw, highlight, or add text and signatures to your photos or PDFs, without needing third-party apps.
To mark up a photo or PDF file in Files, open it in preview mode using Quick Look (above). You may open multiple files with that Shortcut, if you want. Next, tap the Markup button (a pen tip inside a circle) at the bottom, and you’ll see a bunch of tools on the screen.
Select a tool based on your requirements and use it to annotate the file. To add shapes, text, or a signature, tap the “+” button and select the appropriate option. Once you’re done annotating the file, tap the “Done” button in the top-right corner. Remember that once you’ve saved the changes, you can’t undo them.

Related
How to Sign PDFs on iPhone, iPad, and Mac
Need to sign a document? You can do this is in a few seconds on your iPhone, iPad, or Mac. No app needed!
3
Create or Unzip ZIP Archives With Ease
When working with files, there are times when you need to zip or unzip files. The Files app comes equipped with an archiving and unarchiving tool that makes zipping and unzipping files on an iPhone easy and eliminates the need to download a third-party app.
To create a ZIP archive in Files, navigate to the folder with the files you want to include in the archive, tap the three-dot menu in the top-right corner, and select “Select.” Then, select the files, tap the three-dot menu in the bottom-right corner, and select “Compress.” Files will then create an archive and save it in the same folder. This is great for sending or uploading multiple files at once, rather than doing it one at a time.
Unzipping files in the Files app is easy, too. Simply locate the ZIP file and tap on it. Or, tap and hold the file and select Uncompress. To unzip multiple ZIP files, select them using the “Select” option in the top-right corner, hit the three-dot menu in the bottom-right corner, and select “Uncompress.” Files will unzip the file and create a new folder in the same location with all the files in the ZIP file.
4
Use Quick Actions to Speed Up Routine Tasks
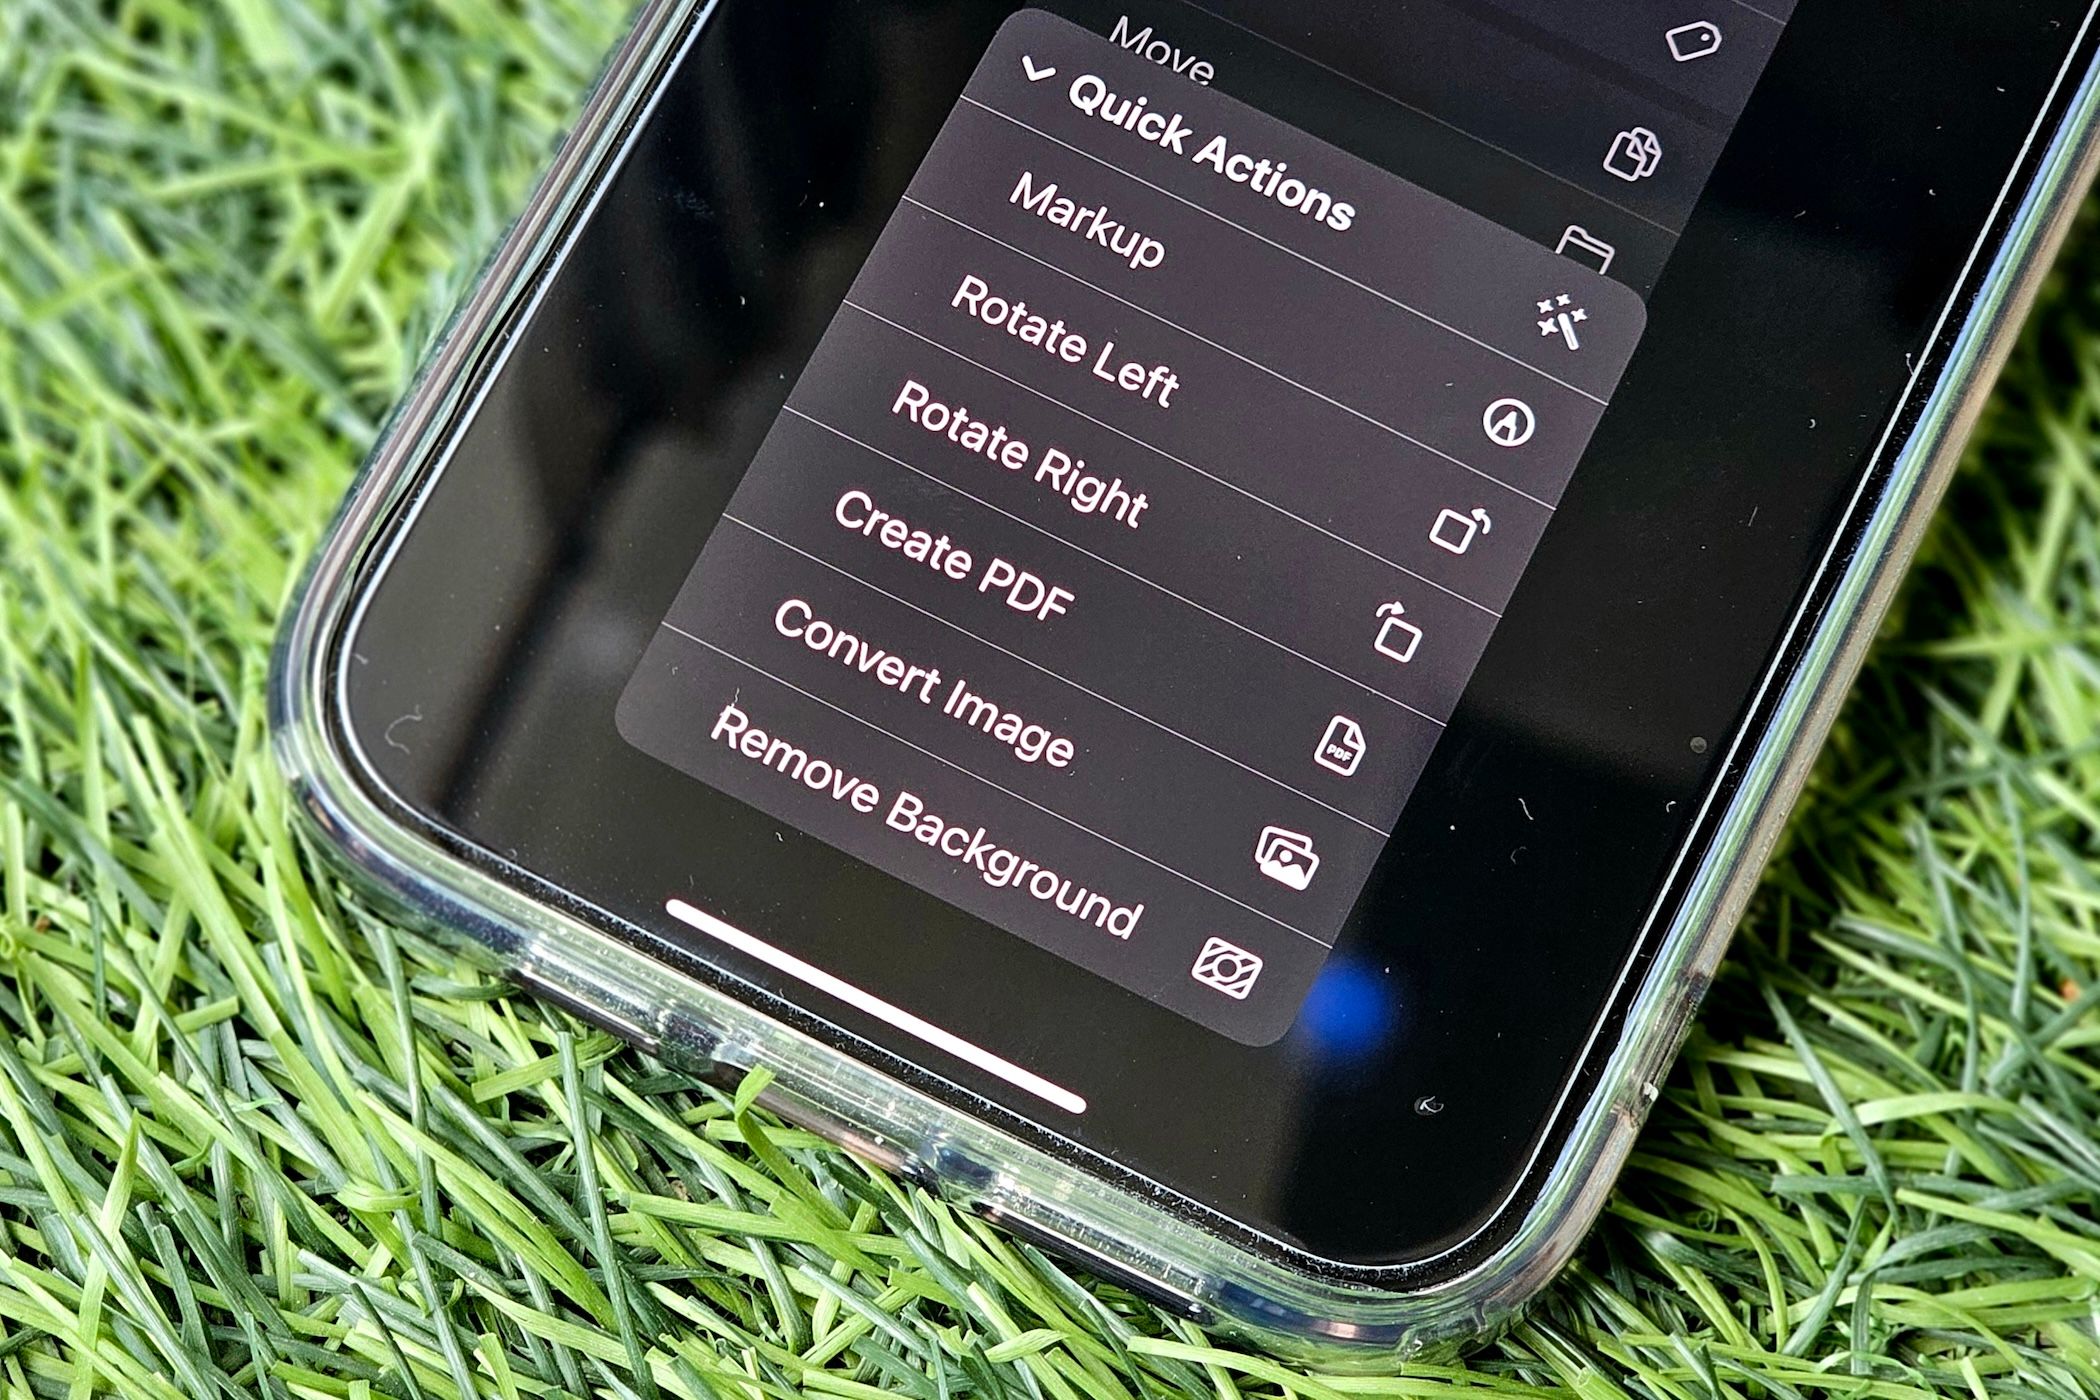
Quick Actions are context-dependent actions that appear when you tap and hold a file in the Files app that let you perform actions quickly without needing to open a file. Being context-dependent, these actions change based on the kind of file you select.
For example, if it’s a PDF file, you’ll see Markup and Optimize File Size. On the other hand, if it’s an image file, you’d see Rotate Left, Rotate Right, Create PDF, Convert Image, and Remove Background.

Related
How to Quickly Remove the Background From Images on iPhone or Mac
You don’t need specialized tools or editing know-how to remove undesired backgrounds from images.
Accessing and using Quick Actions in the Files app on an iPhone is straightforward. Tap and hold the file you want to make changes to, select “Quick Actions,” and choose an appropriate action based on your requirements.
Files will then act and save the file as a copy in the same folder. With certain Quick Actions, you’re asked for additional input. For example, when you use the Convert Image, you need to select your preferred output format for Files to complete the action.
5
Manage Files on External Storage Devices
For times when you want to access data present on an external storage device (SD card, thumb drive, SSD, or HDD) or move data to it from your iPhone, the Files app makes it easy. All you need is your external device formatted to APFS, exFAT, FAT32, or FAT, and the correct adapter, depending on whether your iPhone has a Lightning port or a USB-C port.
Then, attach the external storage device to the adapter and plug it into your iPhone. Open the Files app and go to the “Browse” tab. Here, expand the “Locations” section if it isn’t expanded already, and you should see the name of your external device listed here. Tap the device to access all its content.
Now, similar to how you move files around in Files, you can move files out of the drive to other locations or move content from another location to the drive. All other options, like Markup tools and Quick Actions, are also accessible. You can also erase and format the drive right from the Files app.
6
Seamlessly Access Third-Party Cloud Storage
If you don’t use iCloud or use it alongside another service for more storage, you can integrate it directly into the Files app to access and manage all your files stored on it. Files supports integration with various third-party cloud storage services like Google Drive, Dropbox, OneDrive, and Box.
To integrate your preferred service, first, download its iOS app on your iPhone and set it up. Next, in the Files app, go to the “Browse” tab, tap the three-dot menu in the top-right corner, and select “Edit.” Under the “Locations” section, flip the toggle on for the cloud storage service you want to integrate. Hit “Done.”
Finally, tap the cloud storage service under “Locations,” and you’ll see all your folders and files. You can preview and markup the files here just like you do with files present locally or on iCloud.
7
Connect to External Servers to Access and Manage Files
Just like integrating your cloud storage service, you can also connect to an external file server through the Files app to access, manage, and transfer files between it and your iPhone. This can be useful when you want to access or move files between your iPhone and another device, your home server, or NAS drives. Files only supports connecting to external servers using the SMB protocol.
To connect to a server on the iPhone Files app, go to the “Browse” tab, tap the three-dot menu in the top-right corner, and select “Connect to Server.” Now, type the server’s address you want to connect to in the Server text field. A server address could be a local hostname or an IP address. It may look something like: “smb://192.168.1.2” or “MacBook-Pro.local” — enter it and hit “Next.”
You’ll now be prompted to choose how you want to connect to this server. Choose “Guest” if the server allows guest access and hit “Next.” Alternatively, if it requires authentication, type in the username and password and tap “Next.”
Connecting to a Mac? Enter the username and password you normally use to unlock your computer.
Files will show you all the files and folders from the connected device. You can now navigate your way through the folders and view or markup files as needed. To terminate the connection, go to the “Browse” tab. Locate the connected device under the “Shared” section and tap the upward-pointing arrow next to it.
8
Scan Documents Using the Files App
Another nifty feature Apple offers in the iOS Files app is a built-in document scanner. With it, you can easily scan and digitize physical documents directly in the Files app.
Scanning a document in the Files app is easy. You can either scan a document directly into your desired folder or choose it after capturing. If you prefer the former, navigate to the folder where you want to save the scanned document. Then, tap the three-dot menu in the top-right corner and select “Scan Documents.” Or you can access the scanner in any other folder using the same steps.
Files will now open the scanner. Place the physical document you want to scan on a flat surface and point your iPhone’s camera at it, keeping everything aligned. Your iPhone will automatically capture the scan. If it doesn’t, try positioning it within the viewfinder. Alternatively, you can tap the shutter button at the bottom or press a volume button to capture the document manually. Repeat the process if you want to scan multiple pages.
To preview the scanned document, tap the thumbnail in the bottom-left corner. From here, you can crop the document, rotate it, or apply filters. Hit “Done” to save. If you don’t like the scan, hit the trash icon, then use the “Retake” button in the top-right corner to scan the document again.
Finally, tap “Save” in the bottom-right corner, give the file a name, and hit “Done.” If you accessed the scanner on the main screen, you’ll need to pick the location where you want to save it.
Apple’s Files app is quite powerful and can help you with many operations on your iPhone, as demonstrated above. However, there are still several limitations. Some notable ones include a less powerful search, limited options for batch processing, lack of support for many archive formats, and the absence of native FTP protocol support. Addressing these will make Files even more versatile and useful for iPhone users.
Just like Files, there are a few other amazing pre-installed apps on your iPhone that you shouldn’t overlook. Check them out to get the most out of your device.


Leave a Comment
Your email address will not be published. Required fields are marked *